Crawling to the Finish Line

Been busy both at home at and work, plus all the workshop re-organization has gotten in the way of cleaning.  But, some things have to keep moving.  The dials for the puzzle boxes are getting their finish coats so that I'll hopefully be able to fully wrap them up soon.  These are walnut, finished with Danish Oil and now they are getting their wiped on coats of gloss poly.  It's been really humid around here which means finishes can take days instead of hours to dry.  

The re-organization is moving along and hopefully I can post some updates and builds that will happen as a result of that.

Guess it'll be a short post today.

Making a Big Mess (and trying to clean it up)

Like so many people, I have too much stuff and too small of a shop.  That means I trip over myself when I try to work.  Over the weekend I wanted to do some re-arranging to fix a few things I really didn't like.

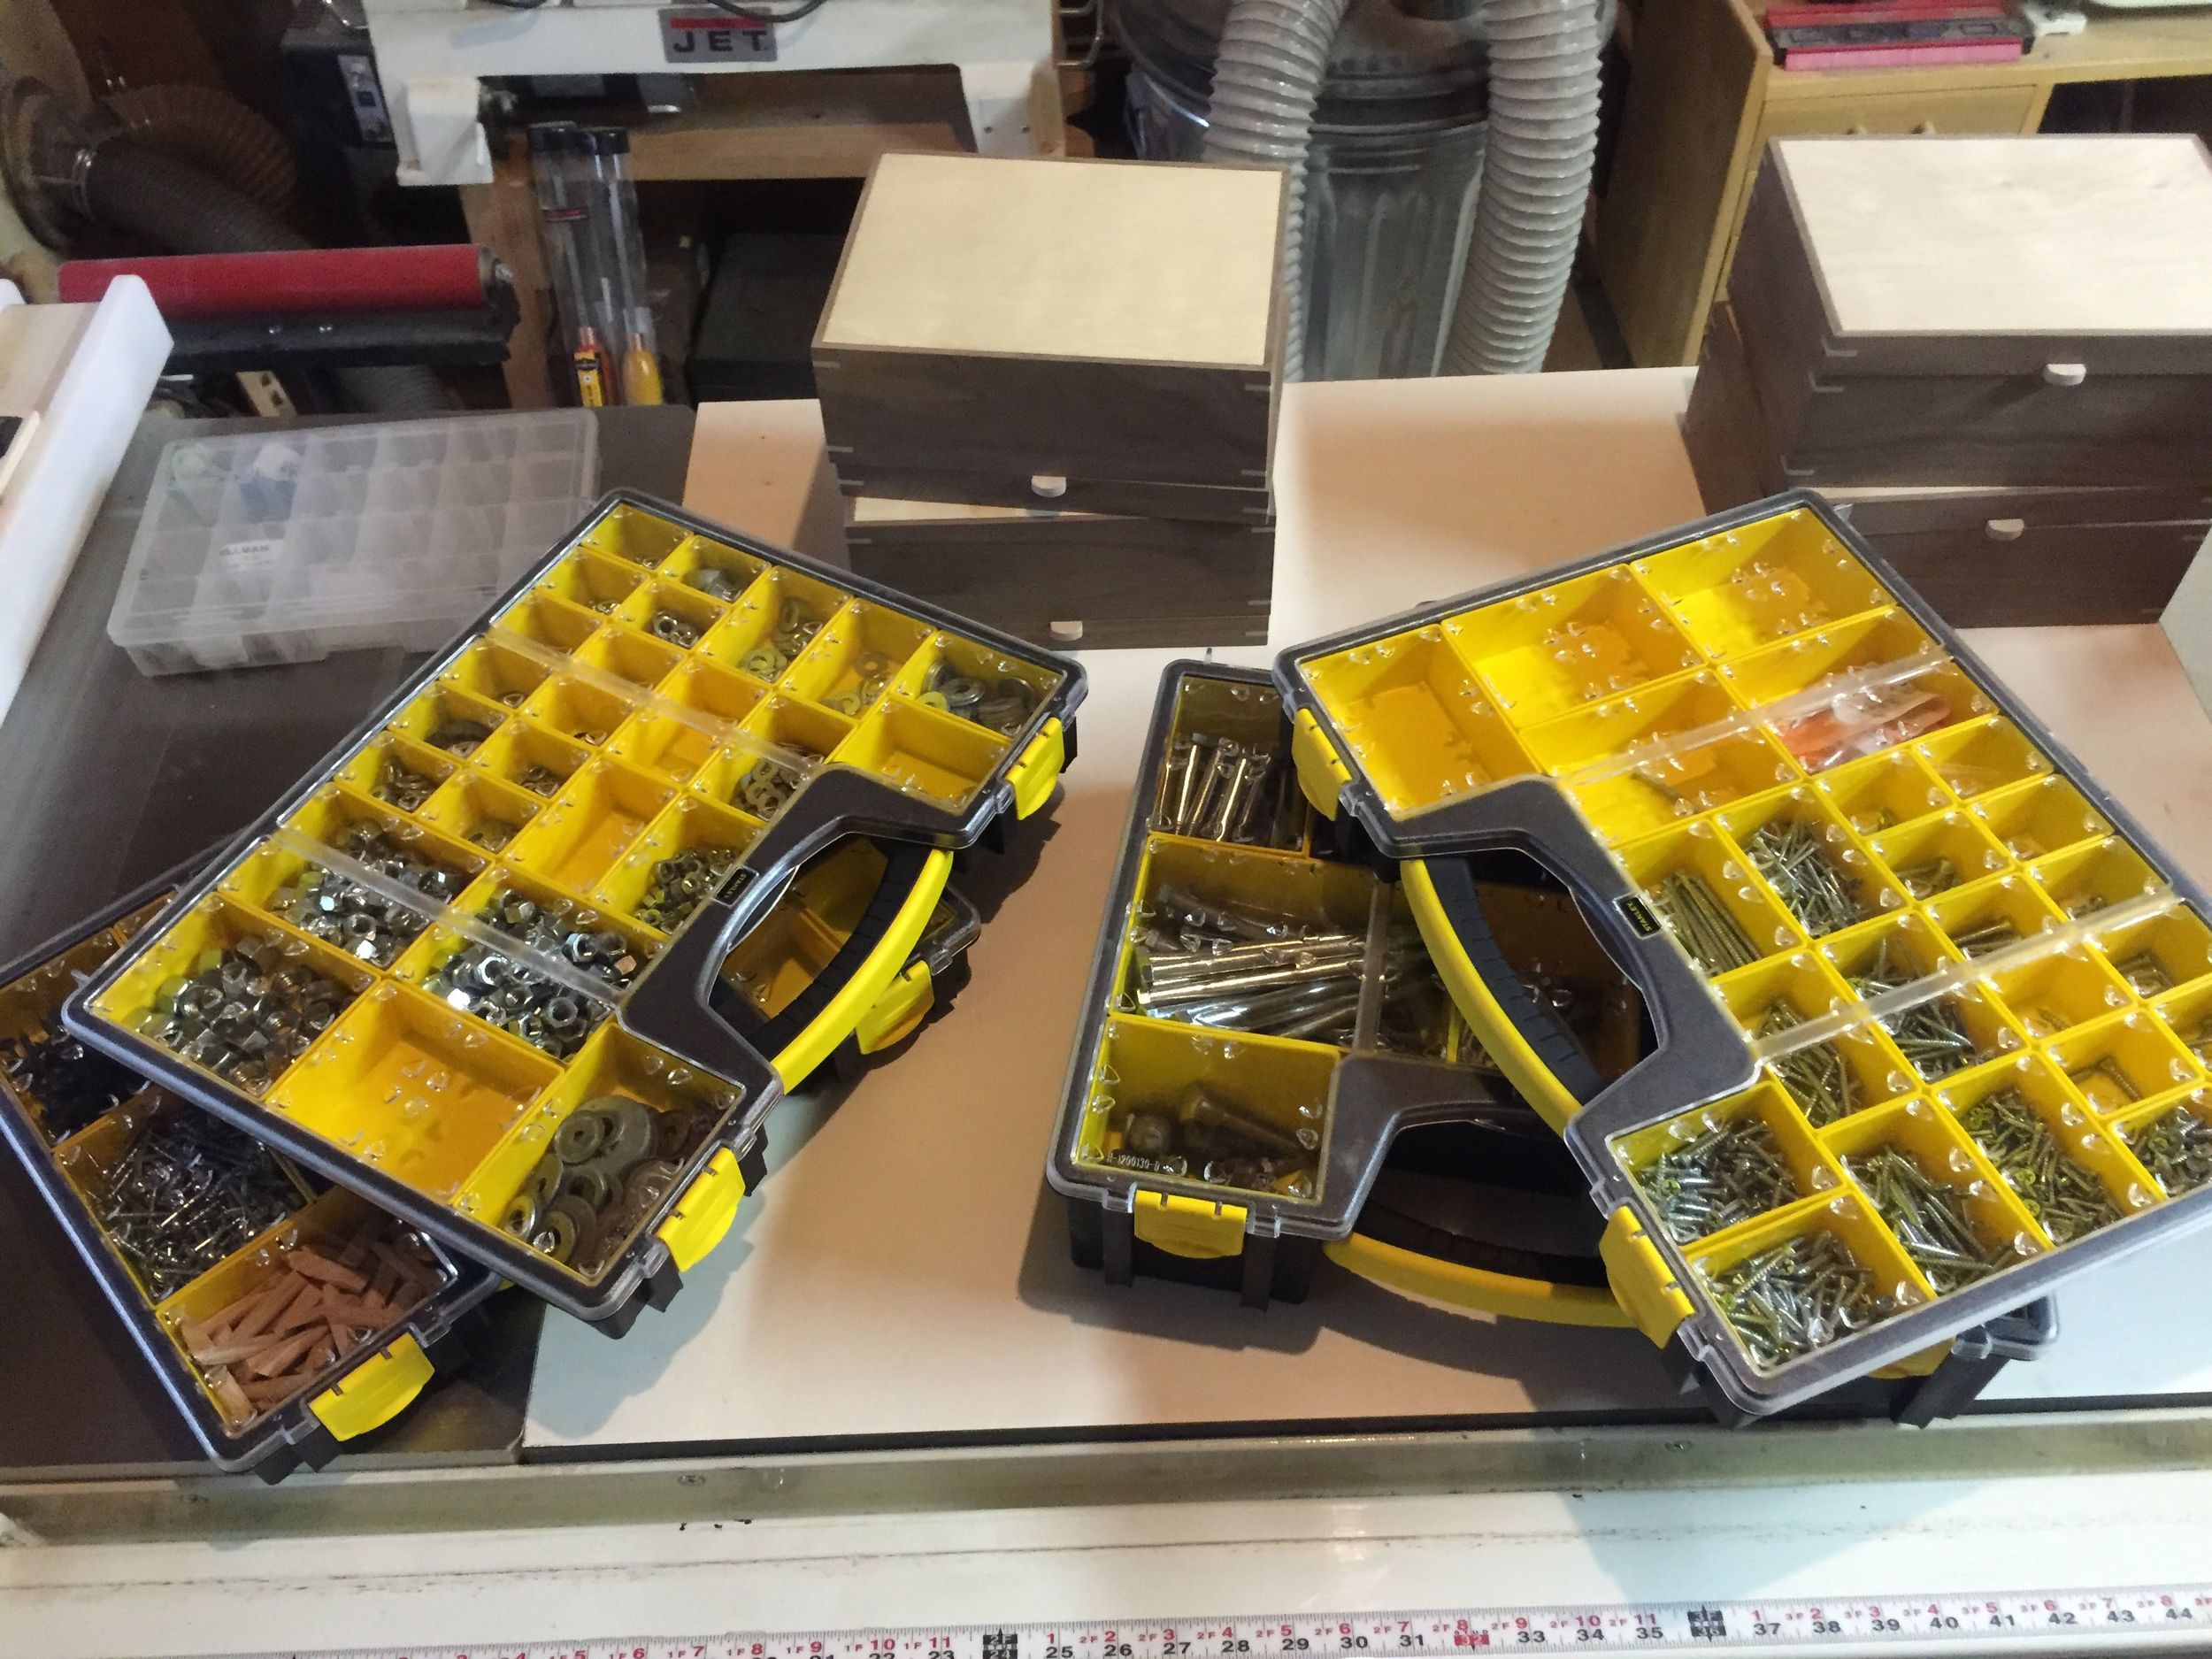
First, I continued the job to get all my small parts and things into one place.  It's really coming along.  I'm at the point I need to make a cabinet to hold all the containers.  I know, it sound weird, make something to hold the holders.  I really like these organizers, though.  I plan to make a cabinet to hold several more than I have right now to allow room for expansion.

My next goal was to move the workbench.  I have always worked with the bench against the wall.  But I want to do some more video work and having the bench against the wall makes that tricky.  It's seems nicer if  you can have a camera across the bench aimed at you.  Plus, I often have unused areas of the bench - and in a small shop you better use ever inch you have.  So, I have the bench out in the open and I can now work all the way around it.  So far, I'm really liking it.  It does mean cleaning off the junk since I may want to use any area.

Along with moving the bench meant some tool organization on the wall behind it.  Things are still a jumble there but I want to make a proper tool cabinet and some racks for all my regularly used items.  Being at the bench and just needing a slight turn to grab a chisel is really nice, plus it's easy to always put things back.

Several other tools moved around.  I don't like where the planer is, but I'm out of options at the moment.  I'm trying to buy the shorter rail set for the table saw.  Currently I have the 60" rails and they are just too big.  I can't orient the saw like I want.  If I can get the shorter rails, I'll swap those on, put the long rails in storage (in case I move to a bigger shop) and then I'll get some much needed room back.

Finally, I should begin looking at a new dust collector.  I have an older Jet with a garbage can pre-separator.  That garbage can causes a huge loss in suction and takes up a lot of space.  Since the shop is small I don't want an in place collector, but I would like a rolling cyclone system with the collection can right under it.  That would reclaim some space and give me a more powerful system.

Hopefully I can get back to actual woodworking soon, and not just cleaning & organizing!

It's Not All Glitz and Glam

Sometimes the job is just to fix the wheelbarrow.  Usually because you need to the wheelbarrow to do some other job.

Something I like about woodworking is that you end up learning to do all kinds of things.  Stuff that might have seemed hard or impossible is now pretty easy.  The broken wheelbarrow started out just needing a new wheel.  That turned out tougher than you might expect.  Of course, the same exact wheel isn't available anymore.  And the new wheel has a different type of hub which means the spaces don't fit.  So, I got the wheel home, saw how big of a spacer I actually needed - discovered that no such thing exists and got out the hack saw.  A woodworking bench holds a metal part just fine for the occasional cut.  In 10 minutes I had properly sized spacers and the wheel was back on.

Then came this ramped spacer that sits between the body of the wheelbarrow and frame.

Back to woodworking, at last!  The old one had broken, warped and wasn't working too well anymore.  I found some scrap red oak that looked about right, quickly milled it up and then copied the design of the old one.  There was a surprising bit of complexity in this little job.  The long taper was easily cut on the bandaw and is good practice for free handing a straight line.  The notches have angled edges which a good table saw sled/miter gauge handle easily (for a tip, once the two sides are laid out, just line those up with the blade kerf in the sled , set the fence and you are good to go.).  Finally, the two holes, which, like me, you may reailize later have to be perpendicular to the original straight edge - well, if you saved the offcut it's easy enough to set this back on top of and everything will go fine.

Woodworking includes a lot of problem solving.  And that's what makes it really fun.  Stuff that might have been hard at one time suddenly seems trivial.  And when the earlier stuff seems so simple, it means you are really moving along.

So, I didn't get a new puzzle box out of this, but I can get some yard/farm work done!

A Thousand Little Things

Ii figured it was time I started to put some much needed organization in place.  Cryptic Woodworks is a one man shop in a one car garage - space is always at a huge premium.  Over the years I've collected far too many little bits.  Funny thing is, I never know what I have.

I currently use a combination of those plastic bins in a holder that you hang on the wall, some open bins sitting on things, old cool whip containers, random small metal tins (probably tuna fish at one time), miscellaneous piles of bits and who knows what else.  I originally thought I would engineer super mice to straighten up the shop, but that had some unintended consequences.  

Fortunately, along came the internet and this little video from Adam Savage (of Mythbusters) https://youtu.be/1OPSbF6kM9k about how to organize lots of small parts.  This looked like a great idea.  So off I went to find some organizers.  The product he uses is quite expensive and a bit much for my budget, but I found some adequate items from Stanley at both big box stores and Amazon.

With 7 of the organizers in hand I headed into the shop.  I'm part way done and already liking how it looks and how easy it is to see what I have.  I'll likely end up with individual oganizers for wood screws, nuts/washers, bolts/lags, other connectors (threaded inserts, etc) and who knows what else.

Once organized I'll put together a cabinet to hold all the containers and make it easy to get out what I want.  I already have some nice ideas in my head.  And yes, you might notice some other projects in this pic!

A Balancing Act

When I started Cryptic Woodworks, it was because I had been laid off and decided to do something different in my life.  Up to that point I was a computer guy by day (data visualization, analytics, reporting, that kinda thing) and a woodworker when I could find time.  So, after a few weeks rest, I headed into the shop to begin a new life.

OK, let's be serious, I knew one guy working in a garage workshop would have trouble earning enough not to starve.  But, I wanted to establish a bit of a woodworking process, a business presence and if I was lucky sell a few things.  I was also able to work out some of my designs and settle down into the types of things I want to make.

Fast forward a few months, I'm really starting to like not having a "full time" job, but I'm not making much money.  A few pieces sold, but certainly not enough.  Then I get a call from a recruiter for a nice shiny new job with benefits and everything, so I take it.

So now, my plan is to certainly keep woodworking.  While I was out of work I discovered where the shop and my own skill are lacking and the regular salary can help me fix those points.  I do have a lot less time, so that means a much more conscious decision of what I can and can't do.   The future still looks pretty nice and I have more ideas in my head than I could ever possibly make.

Stay Calm and Don't Panic

Over the years I've learned that problems are ever rarely as bad as they seem.  Indeed, going into a panic can often make a simple problem oh so much worse.

Case in point - I was putting the first coat of poly on 4 of my puzzle boxes yesterday (would have been Saturday morning).  That finish is supposed to dry in 4 hours.  Saturday night, still tacky and that was after setting a low fan on the pieces.  

Panic was starting to creep in.  But I've been here before.  Finishes often don't dry in their advertised time frames.  I waited till Sunday morning - better, but still a bit tacky.  So I put the pieces out in the morning sun for a few hours.  Brought them in around noon - still a tiny bit tacky, but definitely better.  Set the fan on them again and waited another hour or two.

Much better - plenty dry enough for the next coat.  The slow drying may cause me to do a bit of extra sanding as I likely got some dust nibs, but that's far from the end of the world.

What could I have done in a panic - tried to strip the finish off and likely damaged all the boxes.  Since they are all wood burned, glued up and oiled, I could have completely ruined them.  Instead, sit back, wait a bit and see.  Go online and read about different types of finishes, drying agents, temperature and humidity issues.  While you are doing that, the finish will likely dry and you'll be more experienced for the next time.

Why did it dry slow?  Not quite sure.  It's an older can of finish, that could be the problem.  Maybe I wiped it on a bit heavy and that slowed it down.  Maybe it was a bit too cool.  Maybe it needed more time over the existing oil (even though I know the two are compatible).  Hard to say for sure.  Maybe it was all those reasons.

Now I'll wait for the second coat to dry and try not to panic.

Will I ever finish finishing?

I think most non-woodworkers, and maybe even some woodworkers themselves, underestimate the finishing process.  I once heard you should spend as much time finishing a piece as you do building it.  When I started out, this seemed preposterous.  I might spend weeks building something, and now I'm supposed to spend several more weeks just to finish it. Well, yeah, actually.

Finishing is the time during which you good piece becomes a great piece.  It's also when you have to slow down and really pay attention.  There are countless ways to finish a piece - and I'm not going into them here (this blog aint long enough nor am I experienced enough).  But, here's a bit on how I'm currently finishing projects.

  1. Thoroughly sand everything - for me that's up to 320 (I know, some say more, some say less, this is just what I'm doing right now).
  2. Apply a heavy coat of danish oil - wait 30 mins - wiping on.
  3. Apply another coat of danish oil - wait 15 mins - wiping on.
  4. Wipe off any excess oil - check over the next hour or two that no oil is weeping out.
  5. Let the oil cure for at least 3 days, more if possible.
  6. Apply a coat of wipe on poly.  Let dry 4 hours (maybe longer, depending on weather).
  7. Maybe buff the piece with some 000 finishing pad - if it seems to need it, remove all dust.
  8. Apply another coat of poly - wait another 4 hours.
  9. Assess the piece and see if it needs another topcoat layer.  If so ...
    1. Buff the piece with some 000 finishing pad - remove all dust
    2. Apply another coat of poly
  10. Let the piece fully dry, several days.
  11. Apply a few coats of paste wax, buffing until the look good.

So, now you can see that finishing can take just as long, if not longer, than the building.  But trust me, the results are worth it.  My finishing regimen is still fairly simple - it just means waiting a while between activities.  In the future I imagine I'll try more advanced techniques, but for now this is working.

Now, it's off to do another top coat!

Learning to Speed Up and Get It Done

As a hobbyist woodworker I had all the time in the world to get a project done.  This often meant every project turned into an exercise in getting it "just a little more perfect".  When you want to make products for sale, that doesn't always work out too well.  I've had to start retraining myself to get the project done as I originally intended to build it.  That means not constantly adding features as I go (a classic problem from my days in the programming business).  

To this end I took the new linkage hinge design and went from stock to a  finished piece in 3 days.  This means you have to work fast and be sure of yourself.  At no time does it mean you should work sloppy.  I used mitered corners on the box with miter keys - I still strove to make them tight fitting and good looking.  It still means sanding through all the appropriate grits.  But it also means that I didn't decide to create a marquetry top or to add feet or put in some other design change.

I have to keep the design work for the between project times - when I'm working on something new.  I will continue to do a lot of this.  I will update my designs, get better at activities and continue to make changes that lead to better pieces.  

The oil just went on the new linkage lid box (I always love this part, when the wood finally shows it's true glory).  I'll have a 3 day wait for it to dry fully before doing some poly coats.  Since it'll be brutally cold here in the North East PA I guess that's a good time to work on new design drawings inside!

The Continuing Saga of Making Things Open

In my previous post I had talked about making wooden hinges.  I liked how the hinges came out, but when attached to the box the lid alignment became a real issue.  I cut the hinges freehand on a scroll saw and if they are not perfectly aligned then the top won't stay aligned with the rest of the box.  So that became a bit of a no go.

Next I tried some different surface mount hinges on the back of the boxes.  These are nice and simple to put on.  However, the normal ones you find are terribly flimsy.  That led me to want to put  a chain support in the box but that didn't work too we'll with the dividers in the boxes.  In the end I found some heavier but nice looking surface hinges that worked out.

No way could I stop there.  A while back I happened across a video that showed the usage of linkages to let the lid open and close.  I made a new box and figured out how long the arms should be and where to place them.  This is mostly trial and error with paper and a compass and then some scraps to mock it up.  You want to mock it up because what looks good on paper may bind up in real life.  After a few attempts to get the arms right, I put them on the box.  I'm really happy with both how they look and work.  The box takes on a more mechanical aspect.   The arms are strong and there is very little side to side play.  Plus the top stands up nice and straight behind the box when opened.

I doubt this will be the end of my hinge odyssey but it sure is fun to try out options.

Coming Unhinged

A lot of the items I intend to make here at Cryptic Woodworks will probably be a form of box.  Boxes usually have lids, and lids often need hinges.  If you start making products you will probably look at hinge hardware and gasp a bit at the prices.  I am wrestling with this problem, I don't want to continue to up the price of the boxes to recoup the hardware cost.

I noticed while perusing the internets that wood hinges are a possibility.  "Wood hinges?" I said, I must try this.

I am attempting the scroll saw method.  I made a set of 10 hinges in which I let the saw blade separate the barrels.  But this produced a sloppy fit, regardless of the fineness of the blade.  Then I went and drew a template in Sketchup which I can print out and wrap around a piece of wood.  Now the two halves a separate, so if I stay just inside of my lines (or split the lines, as in for a dovetail) I get a good fit.  The trick is to very accurately drill the hinge pin holes, which the paper template helps out with.

I made 4 more hinges and I like the fit much better.  I actually have to loosen them slightly.

I think I'll like this.  Now to put them on the latest set of boxes.