New Project Teaser (but Spoiler Free)

Between the schedule of my day job, work on the farm and house plus trying to finish some existing Cryptic Woodworks projects my time for now endeavors has been a bit scarce.  Scarce doesn't mean non-existent though and I've managed to get a bit of time in on something new.

new box teaser pic

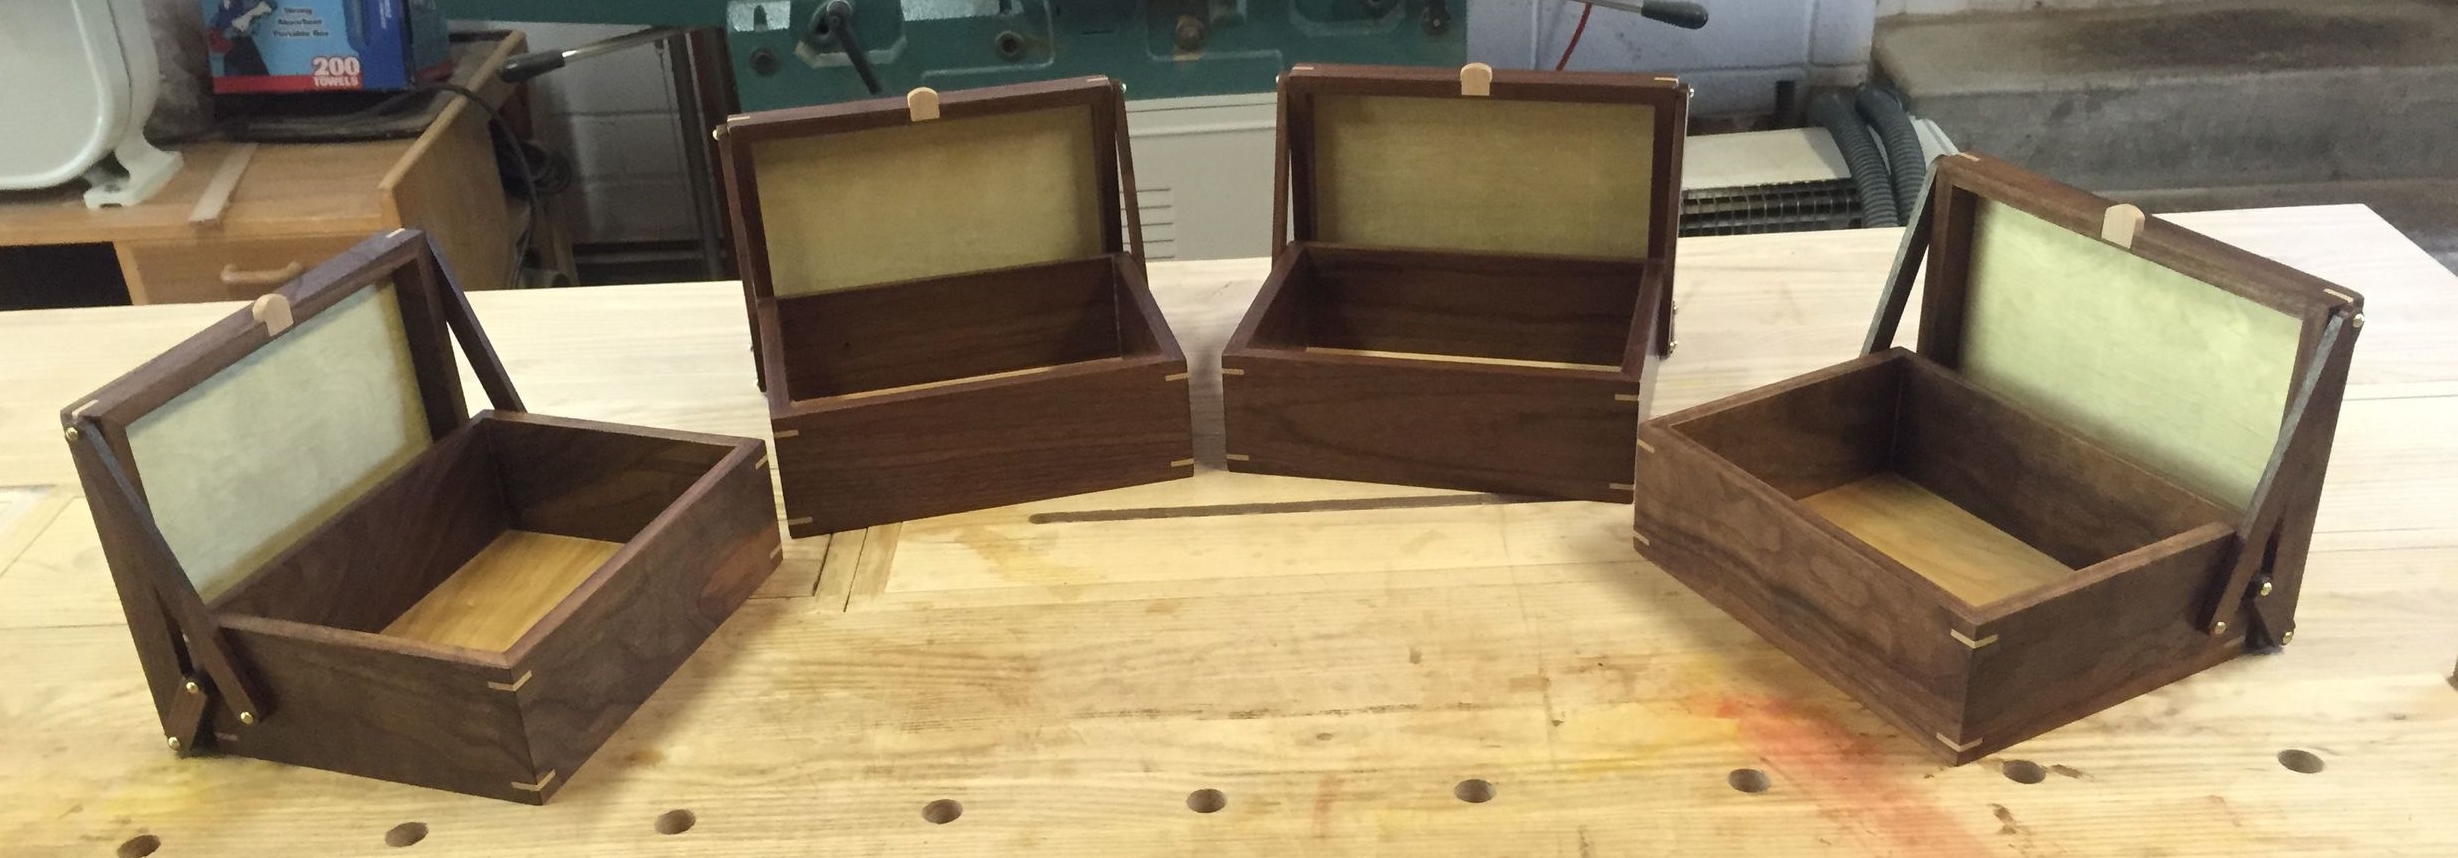
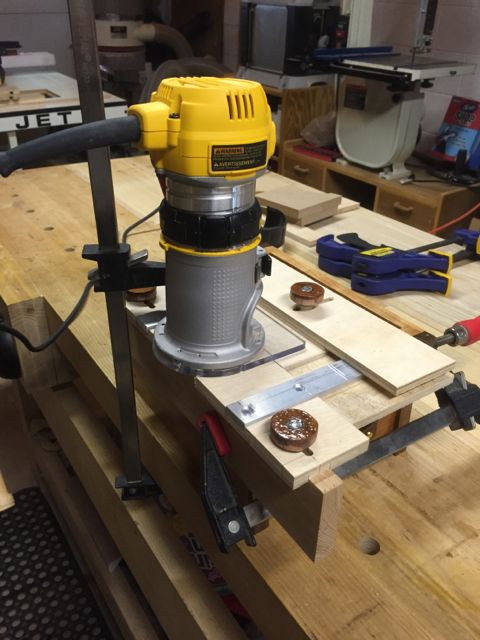
This is something I've wanted figure out how to do for over a year now.  The trial and error of doing something brand new led to a bunch of burn-able scraps.  However, I did get to where I wanted to go.  The photo should server to give little information other than I did make something, it's out of wood, I have some clamps and playing cards did something.

This has been a cool project and includes a technique I intend to use a lot.  Since Cryptic Woodworks is about often new (or more likely forgotten) techniques a lot of my time is spent on figuring out how to do something.  Then, hopefully, I can continually re-use and refine those techniques.

Don't worry, there wont be a long wait to see what I'm doing.  I also intend to do some videos again about this project and how it was made and works.

Making Boxes Appear

Over the last few days after letting the final coat of finish dry and cure I was finally able to assemble the linkage hinge boxes.  As a woodworker, this is when I start sweating (and not just because it was near 90 F with high humidity).  Everything is finished, you have little room to make any adjustments and it all has to fit.  Fortunately on these, they did all fit.  Well, nearly.

I did drill out the holes on the linkage hinge arms a bit larger to ensure they would move easily.  That was a simple job, though.  Currently the arms are held in with only their screws.  To completely finish them I'll remove each screw and put a few drops of glue down in the hole and then re-install the screw.  This will keep them from ever working free.  As you continually open and close a lid like this, there is a chance the screws could work their way out.

The boxes came out great.  When I take better pictures to post them here and on Etsy the wonderful grain should be more evident.  I also plan to make a few sets of dividers as an optional pieces.  These dividers will fit a standard tea bag, turning these into linkage hinge tea boxes.

Overall construction here was pretty straightforward.   The boxes are primarily walnut, joined with miters and keys (the horizontal bits at the corners - for strength) and the top/bottom are birch plywood.  The linkage arms are walnut and the screws/washers are brass.  I finished with Danish Oil and wipe on poly.

Coming up next?  I'm working on spring loaded drawers and catches.  it's been fun.

Never Ending Shop Changes

Working in a 1 car garage that's been turned into a wood shop is often not easy.  Space continues to exist as a commodity item.  Several years I purchased a Jet cabinet saw with the nice long 50" rails.  It was pretty nice.  I could put a whole sheet of plywood on that.  I had this big table that was also a nice assembly area.

But ...  There's always a but isn't there.  It's one thing to have a saw you can put a whole sheet of plywood on.  It's another thing to actually have the room to lift the sheet onto the saw and make a full cut.  I'd run into the problem of not having enough in feed or out feed room.  And then there came the need for more space.  

I had to keep the saw arranged lengthwise in the garage.  That meant my out feed couldn't be out through the garage door.  If I tried to turn the saw crosswise the rails were so long it was hard to walk by - and still have machines along the walls.

So, I purchased the 30" rail kit (not much, about $170 USD) and swapped out the long rails.  Why not just cut the rails?  Well, if I do end up moving in the future to a larger shop I will probably put the long rails back on.  With the short rails I can easily turn the saw width wise in the garage with plenty of room to get around.  Plus, since I'm doing smaller work these days the long rails never were necessary - I just don't cut anything that big anymore.

So, I have more floor space, it's easier to walk around, I can still do all my normal work and I don't need the extra legs to hold up the table (and lose valuable storage!).  I guess sometimes downsizing is a win (well, except for when it happens to you - and it did happen to me).

Of course now I need to get some new dust collector hose because what I had doesn't reach the saw now that I moved it.  It never ends.

Amidst all the shop changes I also somehow managed to finish the puzzle boxes and the linkage hinge boxes.  More posts about those are upcoming, along with new work.  Now that I have some more space I'm eager to put it to work. 

Putting the Hinge Mortise Jig to Work

Building a hinge mortise jig was a great idea.  I'm not that great at getting the layout, cutting and alignment done just perfect so that when you put in all the screws the top lines up with the body.  Plus, it's fiddly work that can take a long time to do even one box.  With a jig, though, wow, layout is fast, every cut is straight and even and alignment is spot on.

It's just a few steps to set up, then everything is easy

  • Scribe a line on the top of bottom marking one end of each hinge.  Yep, just one is all you need.  I like to set the top on some blocks in it's open position and mark both at once
  • Use the jig to set the width of the hinge - easily done by putting the hinge in the opening and adjusting the side sliders
  • Set the depth of the hinge - done by putting the hinge on the reference mark on the slider (you can see the scratched lines on the aluminum bar) and adjusting that stop.
  • Set the height of the hinge - I use a scrap piece of the same wood as the jig, set that on the router along with the hinge leaf and adjust the bit till it's a hair proud
  • Put the fully adjusted jig on the workpiece, align the edge with your reference marks (made early), clamp it down and rout away (It's a good idea to rout in slightly on the right hand side, then back out and rout from the left in a clockwise direction.  This helps avoid tearout on the right when you exit the cut.
  • If all your hinges are the same, plus reposition and keep routing.  They will all be the exact same and nice and square.

I did all 4 puzzles boxes in about 2 hours.  While that might still seem long, I would have been lucky to finish one box per evening if working by hand plus I would have fought alignment issues along the way.

Now, what's next?


Getting Ready for Hinges

Since I've had such a tough time fitting hinges I thought that finishing the puzzles boxes was the perfect opportunity to build a hinge jig.  Also, since I'll have to cut 16 hinge mortises a jig will make this much faster.  As I continue to learn what it takes to go pro one thing that keeps coming back is making standard operations faster and less error prone.  Sure, fitting one or two hinges by hand isn't that big of a deal, but if I have an hour to finish 4 boxes well I better the process easier.

I found a plan from Woodsmith (http://www.woodsmithshop.com/download/409/hinge-mortising-jig.pdf) that looked decent and set about making it.  I'm using 1/2" MDF for the body of the hinge, a chunk of red oak for the fence and some aluminum bar stock.  I'm most of the way done at this point - I just need to put some threaded inserts into the fence to hold the adjuster knobs and then cut a square piece of plexiglass as an auxiliary base for my router.  The build was rather quick and easy.  I used my router table to make all the grooves.

Another fun part of building jigs like this is getting to work in other materials.  This one called for aluminum bar stock for the two guides.  You can find this at most home stores.  However, it doesn't come to size nor does it have the holes drilled.  I've heard that most woodworking tools cut aluminum well, but I hadn't tried it before.  So, I gave it a go cutting the bars to length on the band saw and it went through the aluminum easily.  I might not want to do this with my best blade, though.  I'm sure aluminum is dulling a blade faster - might be good to keep an old blade around for such tasks.  A drill press makes short work of drilling the holes.  It went fast and I didn't even need to add any oil (like you would for harder steel or other metals).  A countersink finished off the holes.

I'm hoping to shoot some video of using the jig after I get it finished.  

Fitting Locks


I've finally arrived at the final fitting of the locks for the puzzle boxes.  This is a finicky process.  I need to make sure the lock runs smoothly in the hole both with and without the drawer in place.  That means a bunch of trials and some sanding.  One the locks are sanded, I can check the fit of the dials.  The need to fit the lock barrel snuggly (but not too snuggly or I'll get a bad glue bond) as well as have a tiny gap away from the box once put in place.  It's a bit of a dance to get it all fit correctly and operating well.

Once everything is good, I can glue the dials onto the locks.  This is not the point at which to make mistakes.  The dials have to be set correctly (the one you see isn't right, so don't think you can cheat!).  If not, well, then, all those nice clues won't mean much.  So I check and double check the positions.  Once those are good, glue the dial onto the lock shaft and put a screw in the top to both hold it while the glue dries and add a really nice accent.  Brass on walnut always looks great.

You can see on these I updated all the symbols.  A good thing about the prototype and a bunch of user trials was seeing that the old symbols were too similar and it was easy to confuse them.  When designing puzzles, I want the puzzle to confuse the user, not a bad combination of symbols.  This time I picked two symbol sets that were very different from each other and which were easy to differentiate even when upside down.  Another change was to make all the symbols around the dials pointing up - as opposed to away from center.  It's another little design choice that helps make a better final item.

After the locks are done I can finally hinge the tops.  

Almost Done

Amidst all my shop clean up work I also have a set of puzzles boxes I need to finish up.  I'm at that point where there are only a few things left to do.  These puzzle boxes are my current flagship product so I've put in a lot of effort to make sure I get them right.

puzzle boxes with pulls.jpg

This mornings job was to put on the pulls.  I found some nice ones that I liked the look of and they fit the boxes well.  The locks aren't in place yet, though.  I like to have the pulls on so that opening the drawers is easier when I do the final fitting of the locks.

My typical method for putting on pulls ... it's pretty simple.  I put some tape across the drawer front and mark the center with a soft tip pen.  The soft tip keeps from putting indentations on the drawer front (and yeah, a pencil can leave marks).  Then I clamp a small block to the inside of the drawer and drill the hole for the machine screw. The block keeps the wood from chipping out inside the drawer.  Then just take the clamp and tape off, put the pull on and you are good to go.  If by some chance you marked the hole off center just tell everyone that was by design!

Next up is fitting the locks, then hinges.  You can see how these puzzle boxes are shaping up, they do look nice!

Organizing the Organizers

I spent a week away for work (training down in Ga, yay - got to see all my colleagues and have some fun at night!) which certainly cut into my shop time.  If I can't get in the shop (because I'm several states away) then it's kinda hard to work.  Fortunately, I'm home again and I can get back to work.

I seem to suddenly have many projects going at once.  We were out in town and I had the chance to pick up a sheet of plywood which meant my next job was the shelving unit for the small parts holders.

This went together fairly fast, just two weekend afternoons (with appropriate breaks and random bouts of walking around plus listening to podcasts).  It's just a  3/4" birch ply shell with 3/16" shelves.  The shelves seemed a bit thin but I don't see any problems.  I left room for 2 more small cases and 3 more large ones.  I made the case to slide into an existing cart.  I made the fit tighter than I wanted so a little "encouragement" was needed to slide it into place.  I won't say it's perfect (by any stretch) but it uses existing space, is better than what I had and has room for expansion.  When it comes to shop furniture, perfection isn't usually necessary.

I have most of the cases full and I still have some random containers of things.  I'm already liking having my little bits of things sorted.  I've even found a lot of items I didn't know I had.  I'll need to get a labeler at some point and put labels on the handles for easier searching.  However, some containers will likely be a bit random.  I'm not too insistent on organizing every last piece and I will have some containers with a bin of "random sized machine screws" just because it's not worth sorting them when I might have one of several sizes.  Sort the important stuff (wood screws!) and at least keep the rest contained and find-able.

There's still a tool rack to finish.  I have to order the shorter rails for the table saw.  I have 4 puzzle boxes near completion (i.e. sell-able!) and another 4 linkage hinge boxes almost ready to finish.  Then there's whatever is next!  Hopefully some more videos to come over on my Youtube channel as well ( https://www.youtube.com/channel/UCOnWOiDfGR8KpReI8VIIEbQ )

Need a Tool Rack? Just Add Wood

Really, that's all you have to do.  Once you start to have some lumber stacked up and a pile of tools at your disposal plus an even partial level of knowledge in how to use it all, things get easy.  Well, easier.  I've had 3-4 different places that my general hand tools are kept.  This is everything from chisels to awls, squares, rulers, dividers, screw drivers, etc.  I'd been wanting to do something about that.

Not long ago I watched a video series on 5S is the shop.  It was about how to apply the 5S methodology first developed in the automotive industry to your own shop. Some primary tenets of the method are that your things are organized, most commonly used tools are the closest and items are always put away clean and ready for the next use. I knew that having one, good, solid place to keep my tools was necessary.  

Thinking about this is when I realized my tools were a mess and jumbled because I had no good place to always keep them.  It should be much easier to always replace a tool when doing so means little more than turning slightly.  This tool rack will hang near my bench, probably almost within arms reach.  My hope is to never leave the bench covered with tools.  The evenings I've put away my tools and swept off the bench really did make it easier to get back to work the next day.  Everything was just ready to go.

Now, can I go the next step to clean and sharpen every tool before it's put away?

This tool rack is currently quite a bit bigger than I need.  The slot for storing the tools is about 48".  The top is 52" long and 10" deep.  I will add pegs to the front and quite likely a row of small dowels along the bottom (great for small items!).  I made the gap for the tools a bit over 9/16" which fits a variety of my tools.  A few can fall this gap, but I knew that.  This is all oak - it was bits and pieces I've had around for way too long.  The top has a hole part way through and a big blue stain (when metal is driven in live oak, that's what happens) so I figured it's work fine here.  Coming up, I need to make some additions so we know this belongs to Cryptic Woodworks!

Early Morning Glue Up

Having a full time job again means getting more creative in how and when I get work done.  Sometimes that means doing work in the morning to leave me prepped for the evening.  The morning is a good time to do a glue up so I'll have those pieces ready to come out of the clamps.  I'll also do some finishing last thing in the evening so parts can sit and dry overnight (a time when I'm not making any more dust!)

As part of my workshop organization I realized I need a tool rack to handle all the different places I currently have my most common used stored.  So, I didn't want to re-invent the wheel for this and I pulled up a design that looked nice from Popular Woodworking (http://www.popularwoodworking.com/projects/i-can-do-that-tool-rack) .  It looks plenty big enough to handle a lot of tools.

I'm not using pine for mine as I had quite a bit of oak laying out in the lumber shed that needed to get used.  It's older stuff that had some defects that I kept shuffling around.  I don't care if there are some knots or a minor check in this.  Or even a big metal stain from where a bolt must have been driven into the tree.  I just needed to glue up a few boards to get the widths I needed. 

Once I did in I'll look for a way to Cryptic this up a bit.  Stay tuned for what I come with on that.