Puzzle Box

Cryptic Woodworks Weekly Update 13 Jan 2019

2019 is moving along full steam here in the Cryptic shop. I know I’m a day late on my posting but Sunday was pretty busy and I had to finish a post for my Lightly Reasoned blog (worth having a look if you’re into critical thinking concepts and some oddball humor). Winter is also starting to assert itself a bit here in the Northeast US. I have to start warming up the shop a bit before I get to work. Luckily it hasn’t gotten too cold and after about a half hour the shop is t-shirt comfortable.

Front Above Closed.jpg

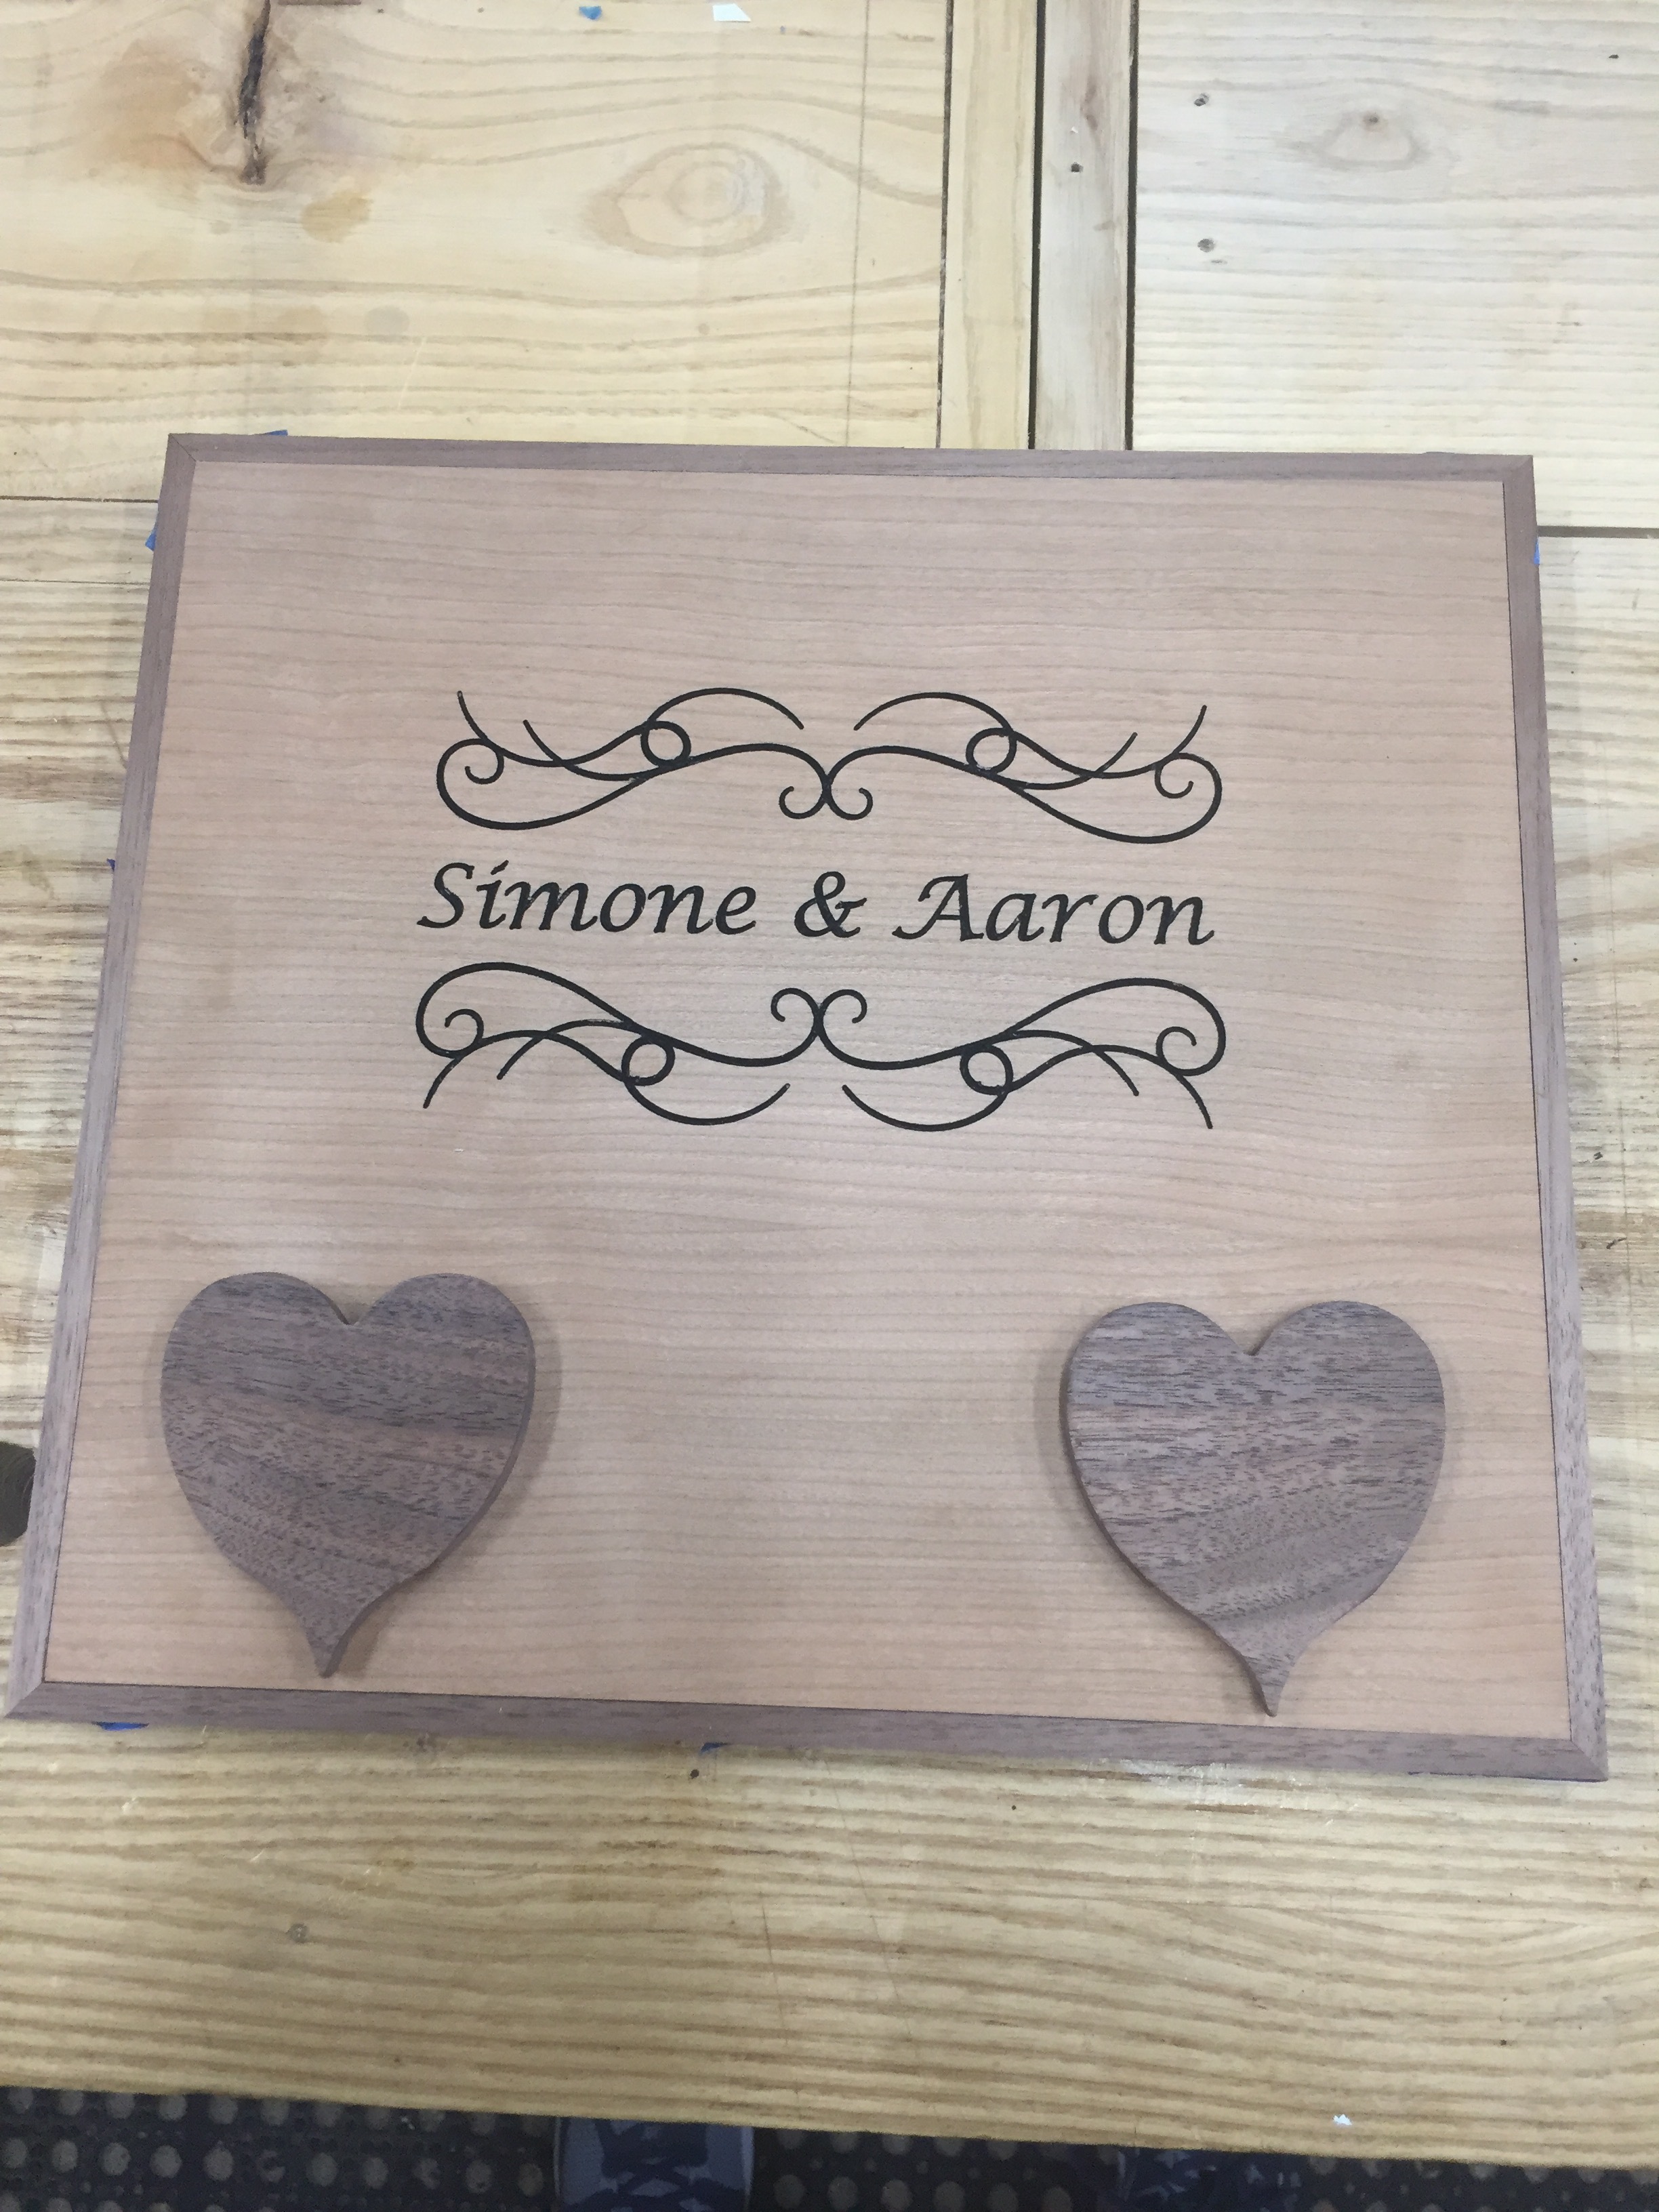
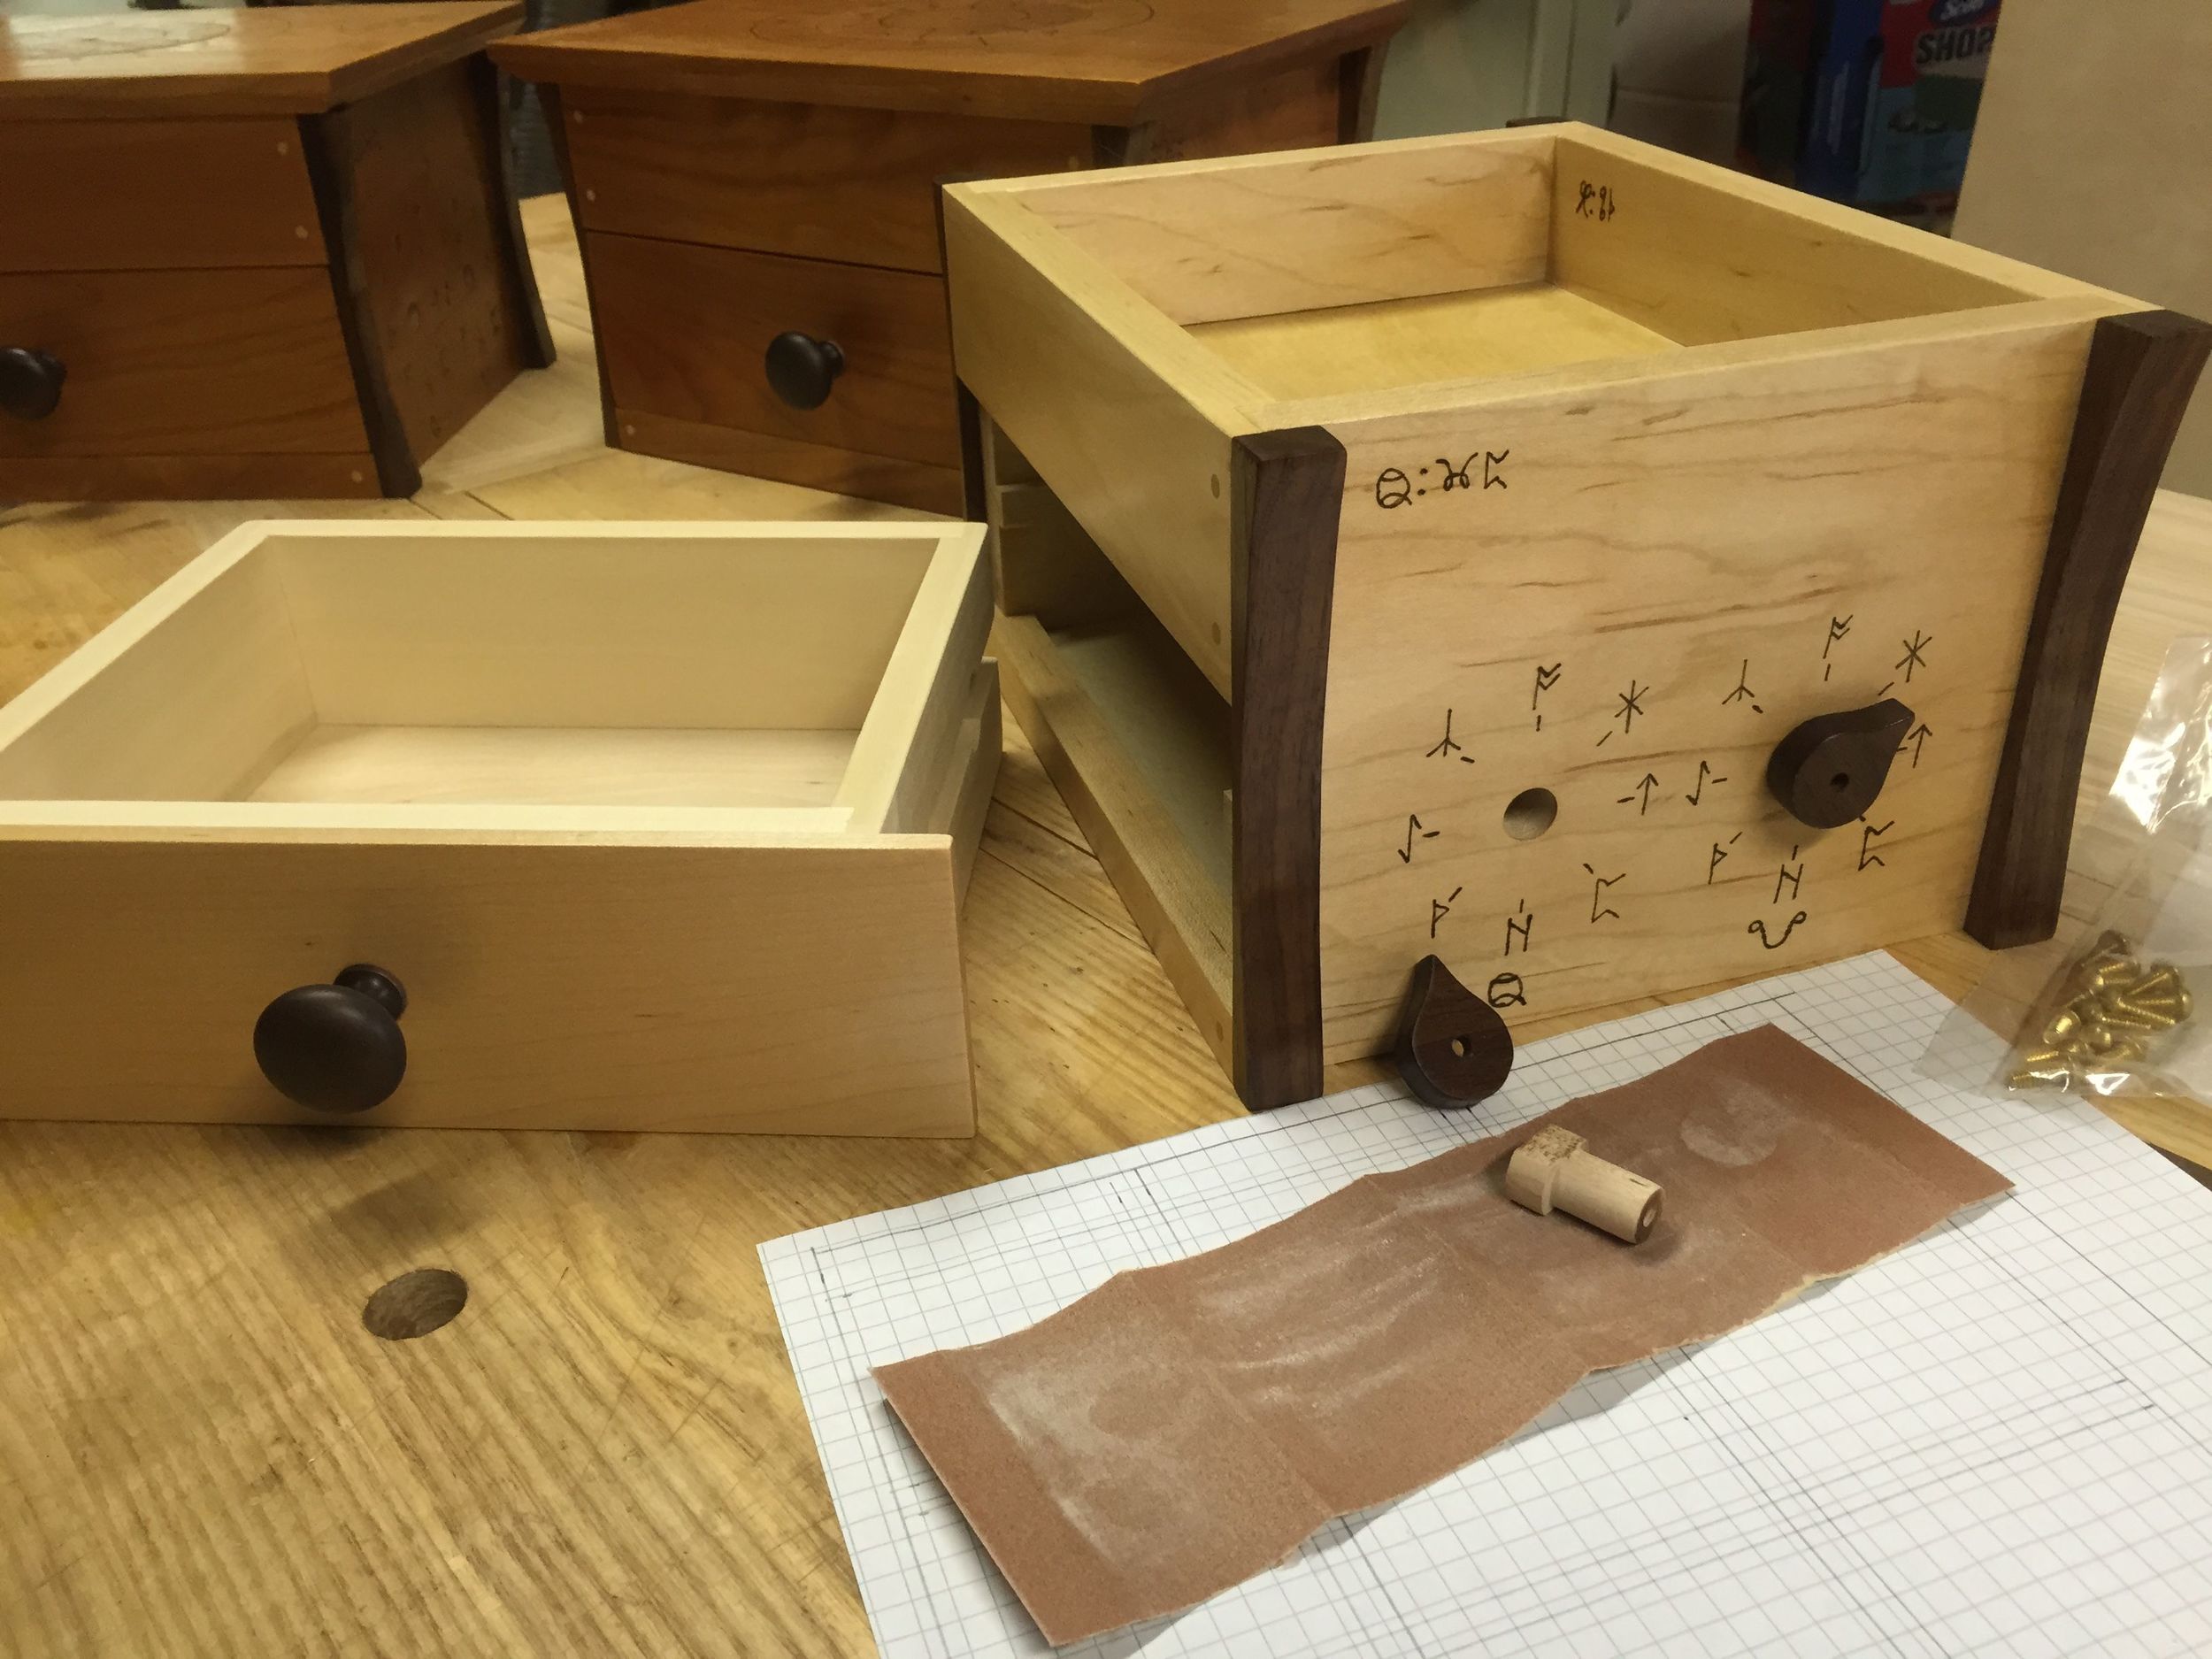
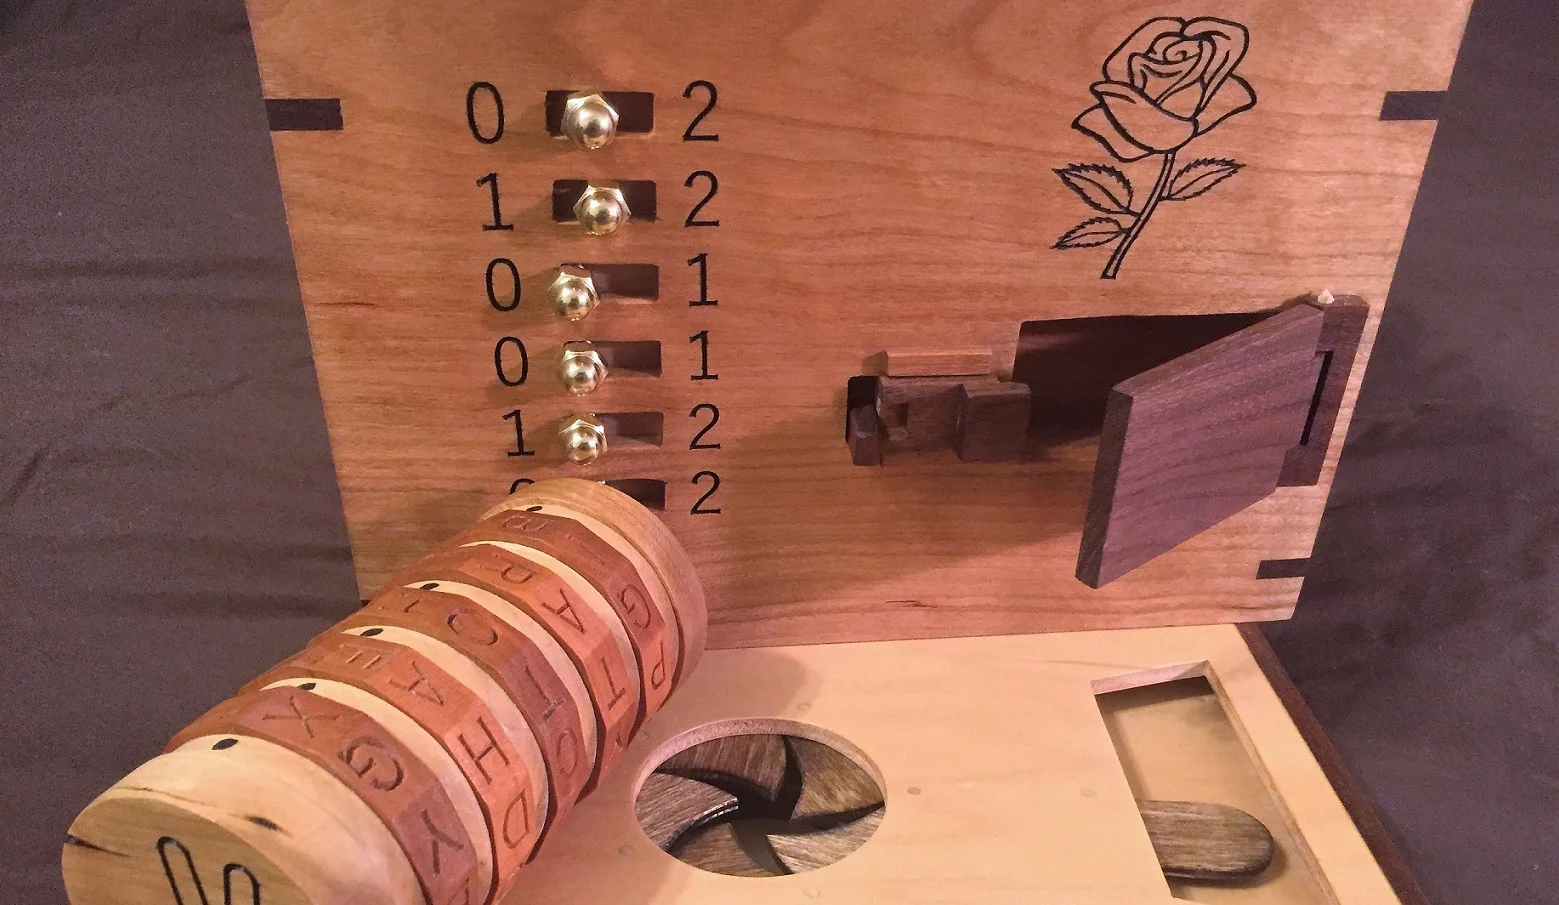
Last week was a little light on the work but yet oh so satisfying. I wrapped up the engagement box. Yep, that’s right, it’s done. I assembled the lid the previous weekend and fit it to the box. All it needed then was a few coats of wiping poly as a topcoat which I took care of during the week. After that I smoothed everything with some 320 paper so it’s silky smooth now. I cut the brass hinge pins to size, sanding the final bit and attached the lid. Same with the side compartment hinges, cut and sanded to size then glued them in with a bit of CA glue. Lastly was putting on the brass caps for the sliding side puzzles with some blue Loctite - the blue is removable with normal hand tools. Wouldn’t you know it though, I ran out of Loctite and needed a quick store run. Be careful with Loctite, it can leak out and stick a part to the box - I have a few I’m making sure are loose enough to move and don’t stick. Since they are removable I can make small adjustments where needed.

Left Side Closed Lower Angle.jpg

I did some showing off of the finished box to may parents. They enjoyed getting a chance to see it’s secrets and mechanisms. Then I had to try and fix their audible account which meant hanging out on a phone with support. Hey, that’s what we do for our family. I learned a lot of my woodworking with my dad in his garage shop.

I got some rearranging and cleaning done in the shop too. Moved the sander and band saw to more accessible spots. Lathe is fully open and ready for use plus the cart it’s on is right behind me at the bench giving me more drawers to use. Its a safer place for my finer marking and measuring tools. I also talked with my neighbor, an electrician, about doing some wiring in the shop to give me more receptacles which I could really use.

As I said, bit of a light week but boy does it feel good to have the full engagement box done. I’ll spend the next week making any needed adjustments, taking pictures and shooting some video. Then, it’ll make it’s journey to Australia.

Coming up? I have a sign to make now that I’m through my other projects. Then it’s on to new puzzle boxes. I’m already thinking through some designs and locks. I’m looking forward to digging into those.

Until next week, stay dusty!

Cryptic Woodworks Weekly Update 16 Dec 2018

I’ve had a fun couple of days in the shop. The weather is getting colder but the kerosene heater deals with that. The day job wasn’t quite as busy which gave me some extra time to work. Christmas is closing in so I’d better get to work on presents, but hey, I’ve got a week!

Most of my work was on the engagement box. After getting the picture transferred last week I could do some remaining work on the individual parts before assembling. I added some extra bordering and text to the bottom of the lid with the image. This was via my normal method of stencil mask, CNC carve, paint, remove mask. I cut the lock bar notches into the frame, then glued up the frame, glued in the bottom (which stays permanent) and glued down the lock components. In the picture, you can see I use a pretty standard spring lock - being simple means it also works simply and I like that. I’m attaching the top with a few screws and threaded inserts. This way, if those locks ever do have a problem someone could open and fix them. I have to get 2 more threaded inserts, I didn’t have enough on hand! What remains then is to apply some finish to the lid, put notches in the box to capture the lock bars and then drill holes for hinge pins. I can see the finish line!

Sign Edited.jpg

I also did a quick Christmas gift job that was a CNC carved sign of a friends favorite sayings. We just layed it out in v-carve, picked nice fonts and sizes, then the usual mask, carve, paint and peel went on. Later we’ll do some light sanding, shoot on a few coats of lacquer. We wanted to do something personal and handmade. I think they make great gifts.

While I have off Monday apparently I get to go and try to find a new fireplace fan. Our went Friday and of course the shop that sells such parts isn’t open over the weekend. So, instead of shop time I get to run around, hopefully find the right fan and install it. And I was hoping to get going on making Christmas puzzles. Oh well, have to do what’s necessary, don’t we. At least without the fan on it’s still a fireplace and gets hot!

Until next week, stay dusty!

Cryptic Woodworks Weekly Update 09 Dec 2018

As I look back at my previous blog entry I realize that almost a full month has passed. The last month had it’s ups and downs - both of which rather limited my woodworking time. I had done some traveling to visit my wife’s family in Central Illinois who we hadn’t seen in some time. Then I went straight to a week long team gathering in Cleveland, Ohio for the day job. I came home with a horrible cold (and I wasn’t the only one to get sick) that hung on for almost 2 weeks. I still have a cough I can’t quite shake. So my month went away pretty quickly.

Photo Dec 09, 2 19 41 PM.jpg

But that’s all done, the kerosene heater is fueled up and running and tools are making noise and dust again. The first thing I wanted to tackle was the lid top for the engagement puzzle box. I hadn’t liked just having the keyholes on it so I made some hearts out of walnut to cover them. Then, a few magnets and washers and I had a great accent that added one more bit of a puzzle to the box. The next step was to add the names and carving. I had wanted to do this with a laser but I was having trouble getting to the site that had it what with timing, costs, classes to learn it, etc. So, since I’ve gotten good with the stencil mask on the CNC I went that route. I purchased several stencil border image packs off Etsy and picked what I like. Then it was a simple matter of getting it right in VCarve, exporting the toolpaths and cutting away. Paint, remove mask and viola, great looking top!

Next up came the task of getting a picture of the couple onto the underside of the lid so you see it when opened. Again, this was meant for laser work, but see above for all the holdups. I did some research, watched a lot of YouTube videos and found several ways to transfer photos to wood. After many tries and failures I got something that worked out nicely.

First was printing with an inkjet onto label paper where the label were removed. The ink won’t try so all you do is put this face down on your wood being careful not the move it, rub it to transfer the ink and viola - great image. Well, not so much for me. Maybe because I wanted black and white or I had too much details or something, but it looked terrible.

Then I tried using water based polycrylic. I only had Generals high durability clear coat on hand, so I put down a layer of that and then pressed a laser printed image (you want laser as its the toner you are transferring) onto the finish, smoothed it out and waited till it was dry. Then you wet the paper and rub it off with your fingers, sponge, toothbrush, etc. It was barely passable.

Then I went and got regular polycrylic satin finish and used that. Same thing, lay down a coat, press the image in, wait till dry and wet and wipe off. It was better but big chunks of the image came away and I wiped away the wet paper.

Then I saw another video that said to gently wipe just some of the paper. Hit it with a hair dryer to set everything, then wet and very gently wipe away again. Repeat until it’s pretty clean and you don’t dare try more. This worked nicely. The image came out looking great, only a bit of the toner came up but nothing that hurt it. Let it dry thoroughly (or use the hair dryer again) and you may still see a lot of what looks like white paper showing up. Don’t worry, spray on some lacquer and that will disappear and just the image is left. Plus the lacquer will sharpen it up.

So that was my Odyssey over the weekend. My foray into crafting, I guess. But hey, we can use all these skills in our work. Why wouldn’t we. We can make great things.

Until next time, stay dusty!

Refining the Drawer Catch

After I made the prototype spring loaded drawer box I knew I had to refine the mechanism that locks the drawer.  The first one certainly worked, but it was large, a bit clunky and wouldn't fit well in the bottom of a smaller box.  I pondered a while, I wandered the internet, I went into the shop and worked.  

The tricky part about figuring out how to make these mechanisms work is that, while much has been done before, there is precious little information out there.  Most of the antique boxes which such mechanisms are in collections and no one will ever study them.  I'm all for protecting the past, museums and collections are something we should continue to do (and do more!).  But, maybe we don't need to seal all of our past behind glass, or a tasseled rope.  Of the few pictures I could find of these mechanisms most weren't terribly useful for explaining their fabrication.  So, that means it's time to do a bit of re-inventing.  Luckily, that's kinda fun.

I wanted to emulate a style of box where the spring catch is mounted into the floor of the box.  This means the catch must pivot, like a lever.  This way, as the drawer slides in it pushes the catch down until it engages.  Then a push at the back of the catch pushes it back down and releases the drawer.  Here's the thing, the catch can't just be one little piece of wood.  How do you secure the front?  If you screw it down, then it can't pivot like a lever.  I thought about all kinds of crazy solutions and then ultimately realized I was over thinking the solution.  One night, laying it bed, it was suddenly clear.

Put a hinge on the catch!  Its so simple!  Adding a hinge to the front of the catch lets me secure it to the box but not restrict the movement.  Out to the shop I headed ( well, the next morning, it was late at night and I was tired).  On the morning of my birthday, actually.  I made a quick prototype and everything worked great.  The hinge doesn't need much movement nor does it need any extreme accuracy.  A cut off nail makes a decent hinge pin.  The pic below should show the mechanism well.  At the back, underneath, is a small spring.

spring_catch_mechanism.jpg

New Project Teaser (but Spoiler Free)

Between the schedule of my day job, work on the farm and house plus trying to finish some existing Cryptic Woodworks projects my time for now endeavors has been a bit scarce.  Scarce doesn't mean non-existent though and I've managed to get a bit of time in on something new.

new box teaser pic

This is something I've wanted figure out how to do for over a year now.  The trial and error of doing something brand new led to a bunch of burn-able scraps.  However, I did get to where I wanted to go.  The photo should server to give little information other than I did make something, it's out of wood, I have some clamps and playing cards did something.

This has been a cool project and includes a technique I intend to use a lot.  Since Cryptic Woodworks is about often new (or more likely forgotten) techniques a lot of my time is spent on figuring out how to do something.  Then, hopefully, I can continually re-use and refine those techniques.

Don't worry, there wont be a long wait to see what I'm doing.  I also intend to do some videos again about this project and how it was made and works.

Fitting Locks


I've finally arrived at the final fitting of the locks for the puzzle boxes.  This is a finicky process.  I need to make sure the lock runs smoothly in the hole both with and without the drawer in place.  That means a bunch of trials and some sanding.  One the locks are sanded, I can check the fit of the dials.  The need to fit the lock barrel snuggly (but not too snuggly or I'll get a bad glue bond) as well as have a tiny gap away from the box once put in place.  It's a bit of a dance to get it all fit correctly and operating well.

Once everything is good, I can glue the dials onto the locks.  This is not the point at which to make mistakes.  The dials have to be set correctly (the one you see isn't right, so don't think you can cheat!).  If not, well, then, all those nice clues won't mean much.  So I check and double check the positions.  Once those are good, glue the dial onto the lock shaft and put a screw in the top to both hold it while the glue dries and add a really nice accent.  Brass on walnut always looks great.

You can see on these I updated all the symbols.  A good thing about the prototype and a bunch of user trials was seeing that the old symbols were too similar and it was easy to confuse them.  When designing puzzles, I want the puzzle to confuse the user, not a bad combination of symbols.  This time I picked two symbol sets that were very different from each other and which were easy to differentiate even when upside down.  Another change was to make all the symbols around the dials pointing up - as opposed to away from center.  It's another little design choice that helps make a better final item.

After the locks are done I can finally hinge the tops.