Bits and Bobs and Musings

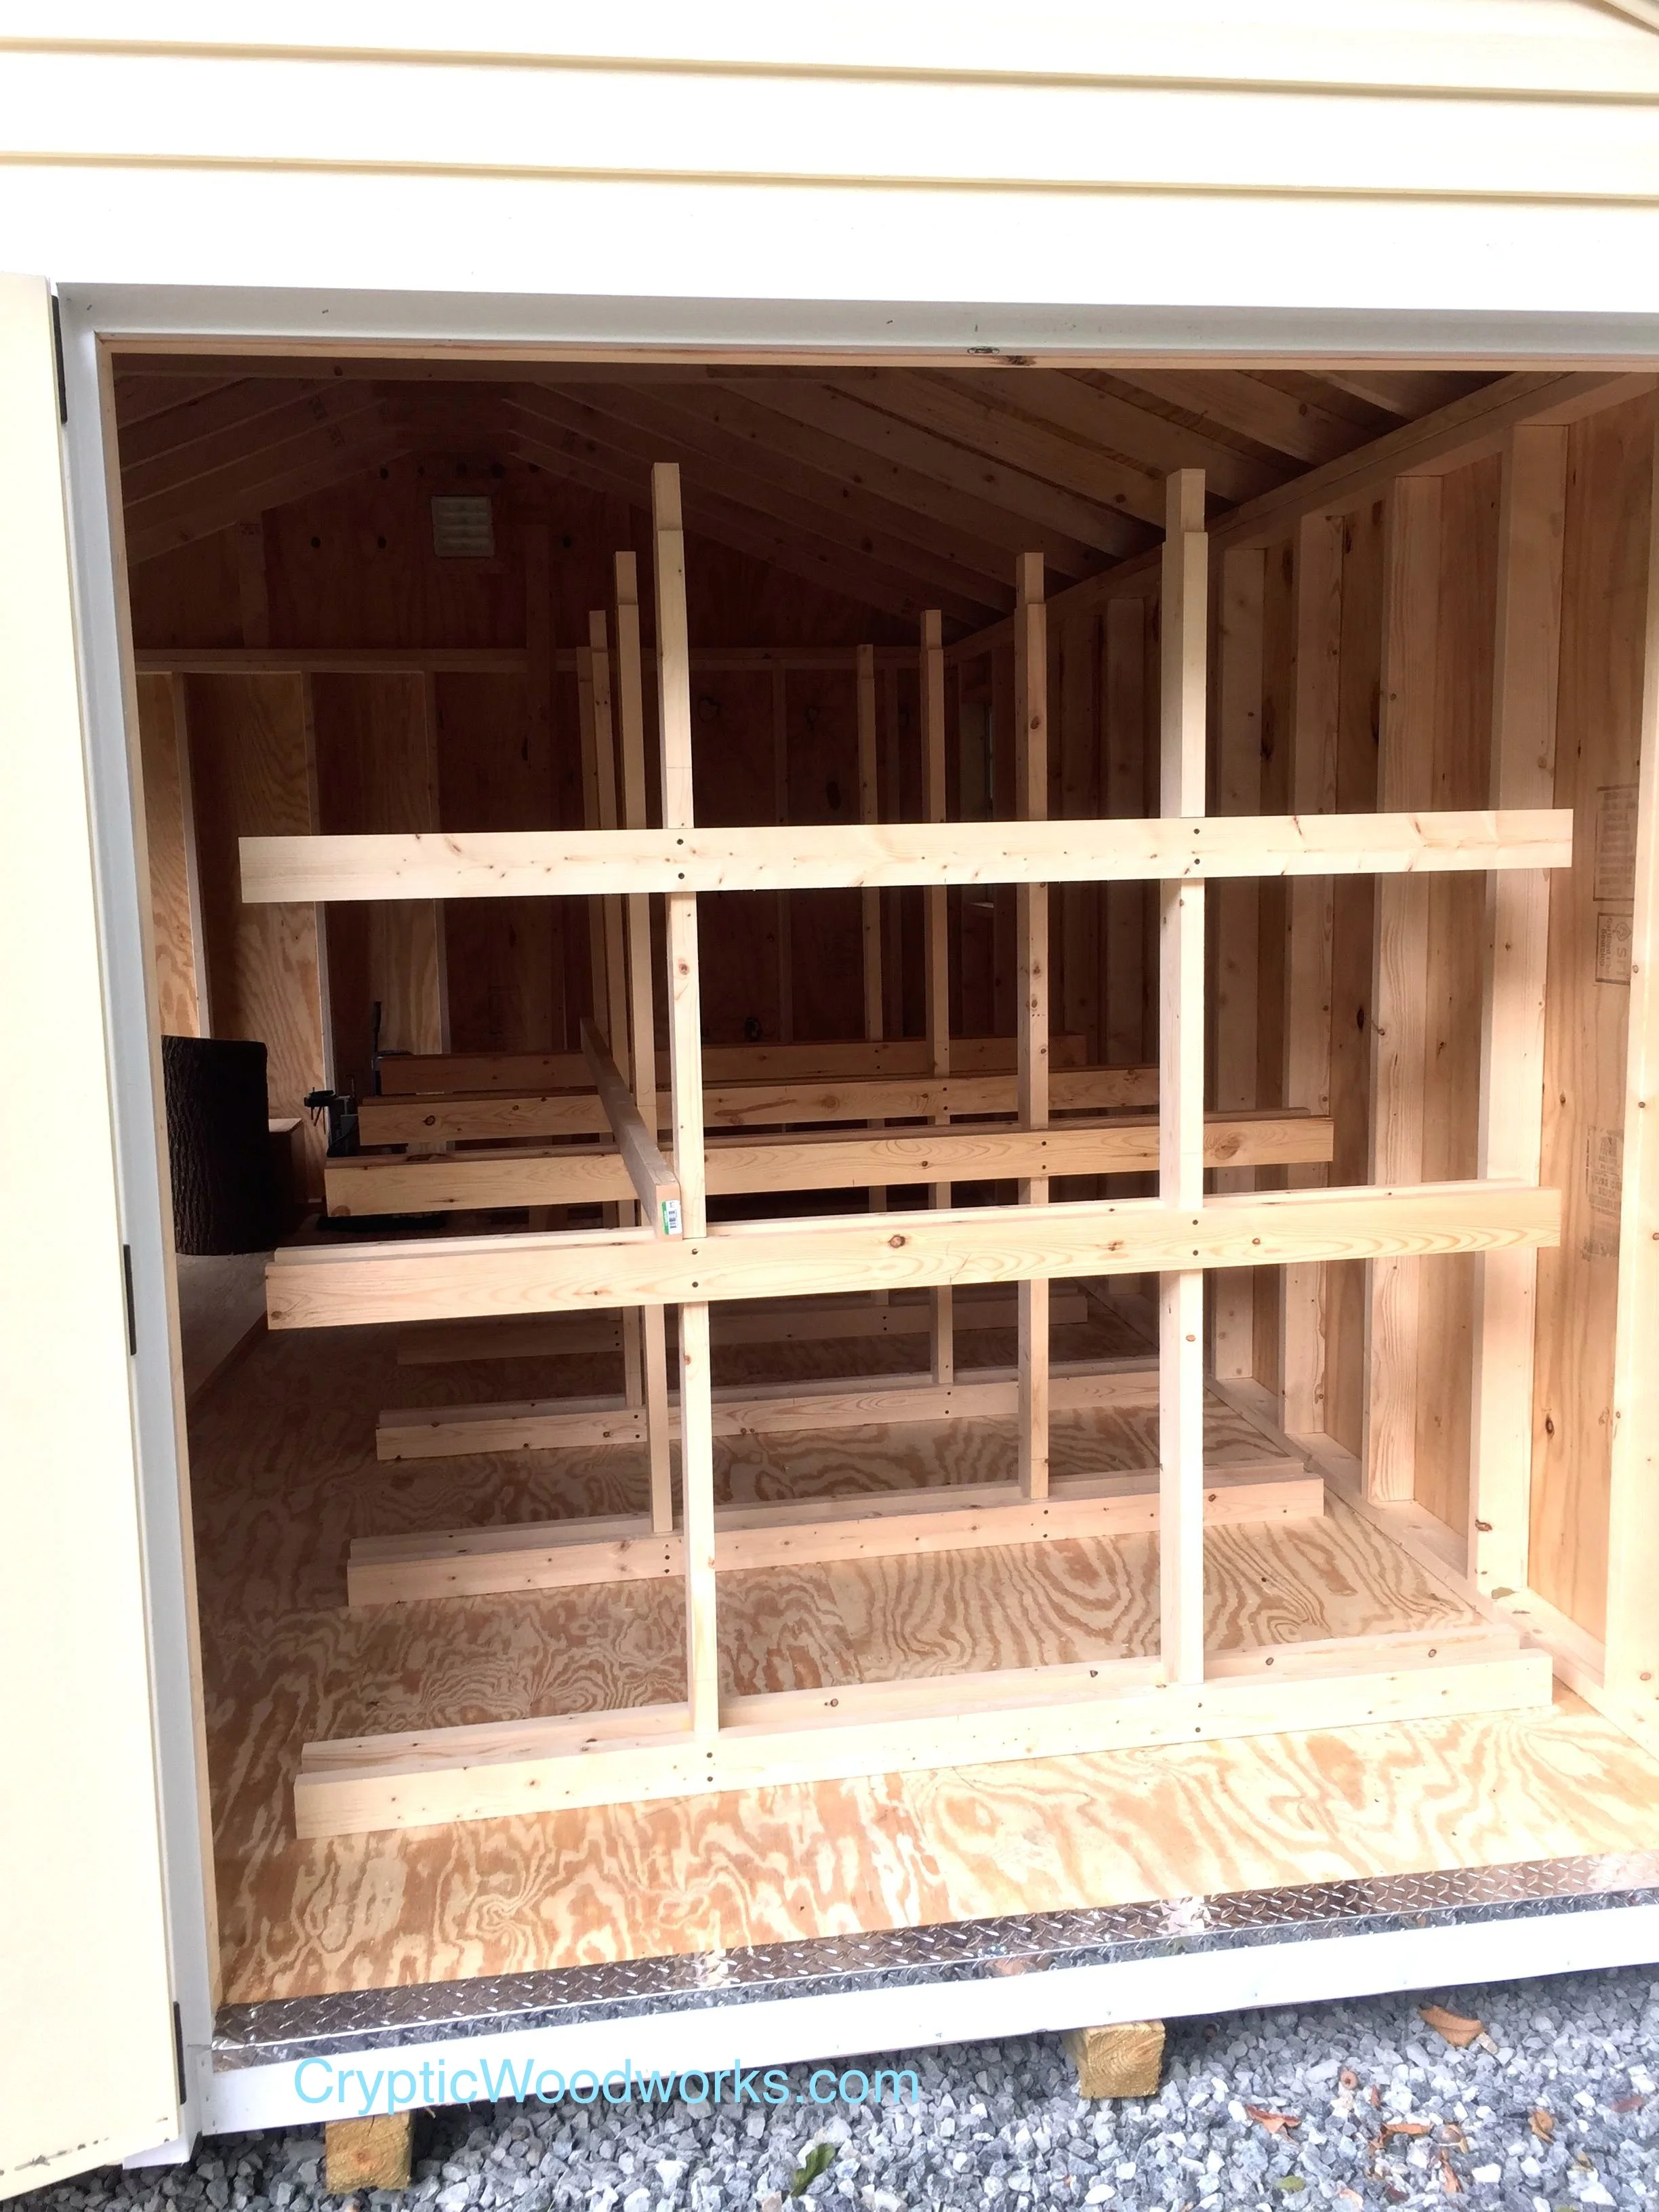
So I realize that I have not posted in quite some time.  I've had quite a lot going on, plus I've managed to put a few new videos up on my Youtube site.  There is a new set of puzzle boxes in the works - the getting done of which has taken up a great deal of my time.  I did want to video some of this work, which, trust me, does not make the build process go any faster.  However, i feel good when I can give something back, even if I'm not much a pro at video work.

Video is interesting for me.  I like doing it, but I recognize how much of an amateur I am.  Video is truly a learned art and process.  There is so much more than just "point and record".  Good framing is critical (in a few of my videos I get out of frame!) as it's hard to demonstrate something that's off camera.  Having a good speaking cadence helps with clarity.  Also, some practice on what to say and in what order makes the videos go more smoothly.  Lighting - yeah, mine isn't so good, I need to get something better.  Once you done all that, then you get to edit it (I use iMovie on my Mac, cuz, well, it was free).  Then you can upload.  Then (getting the feeling you are never done!) you inform all your social media outlets of the video.  Finally, you can sit back and let the views roll in.

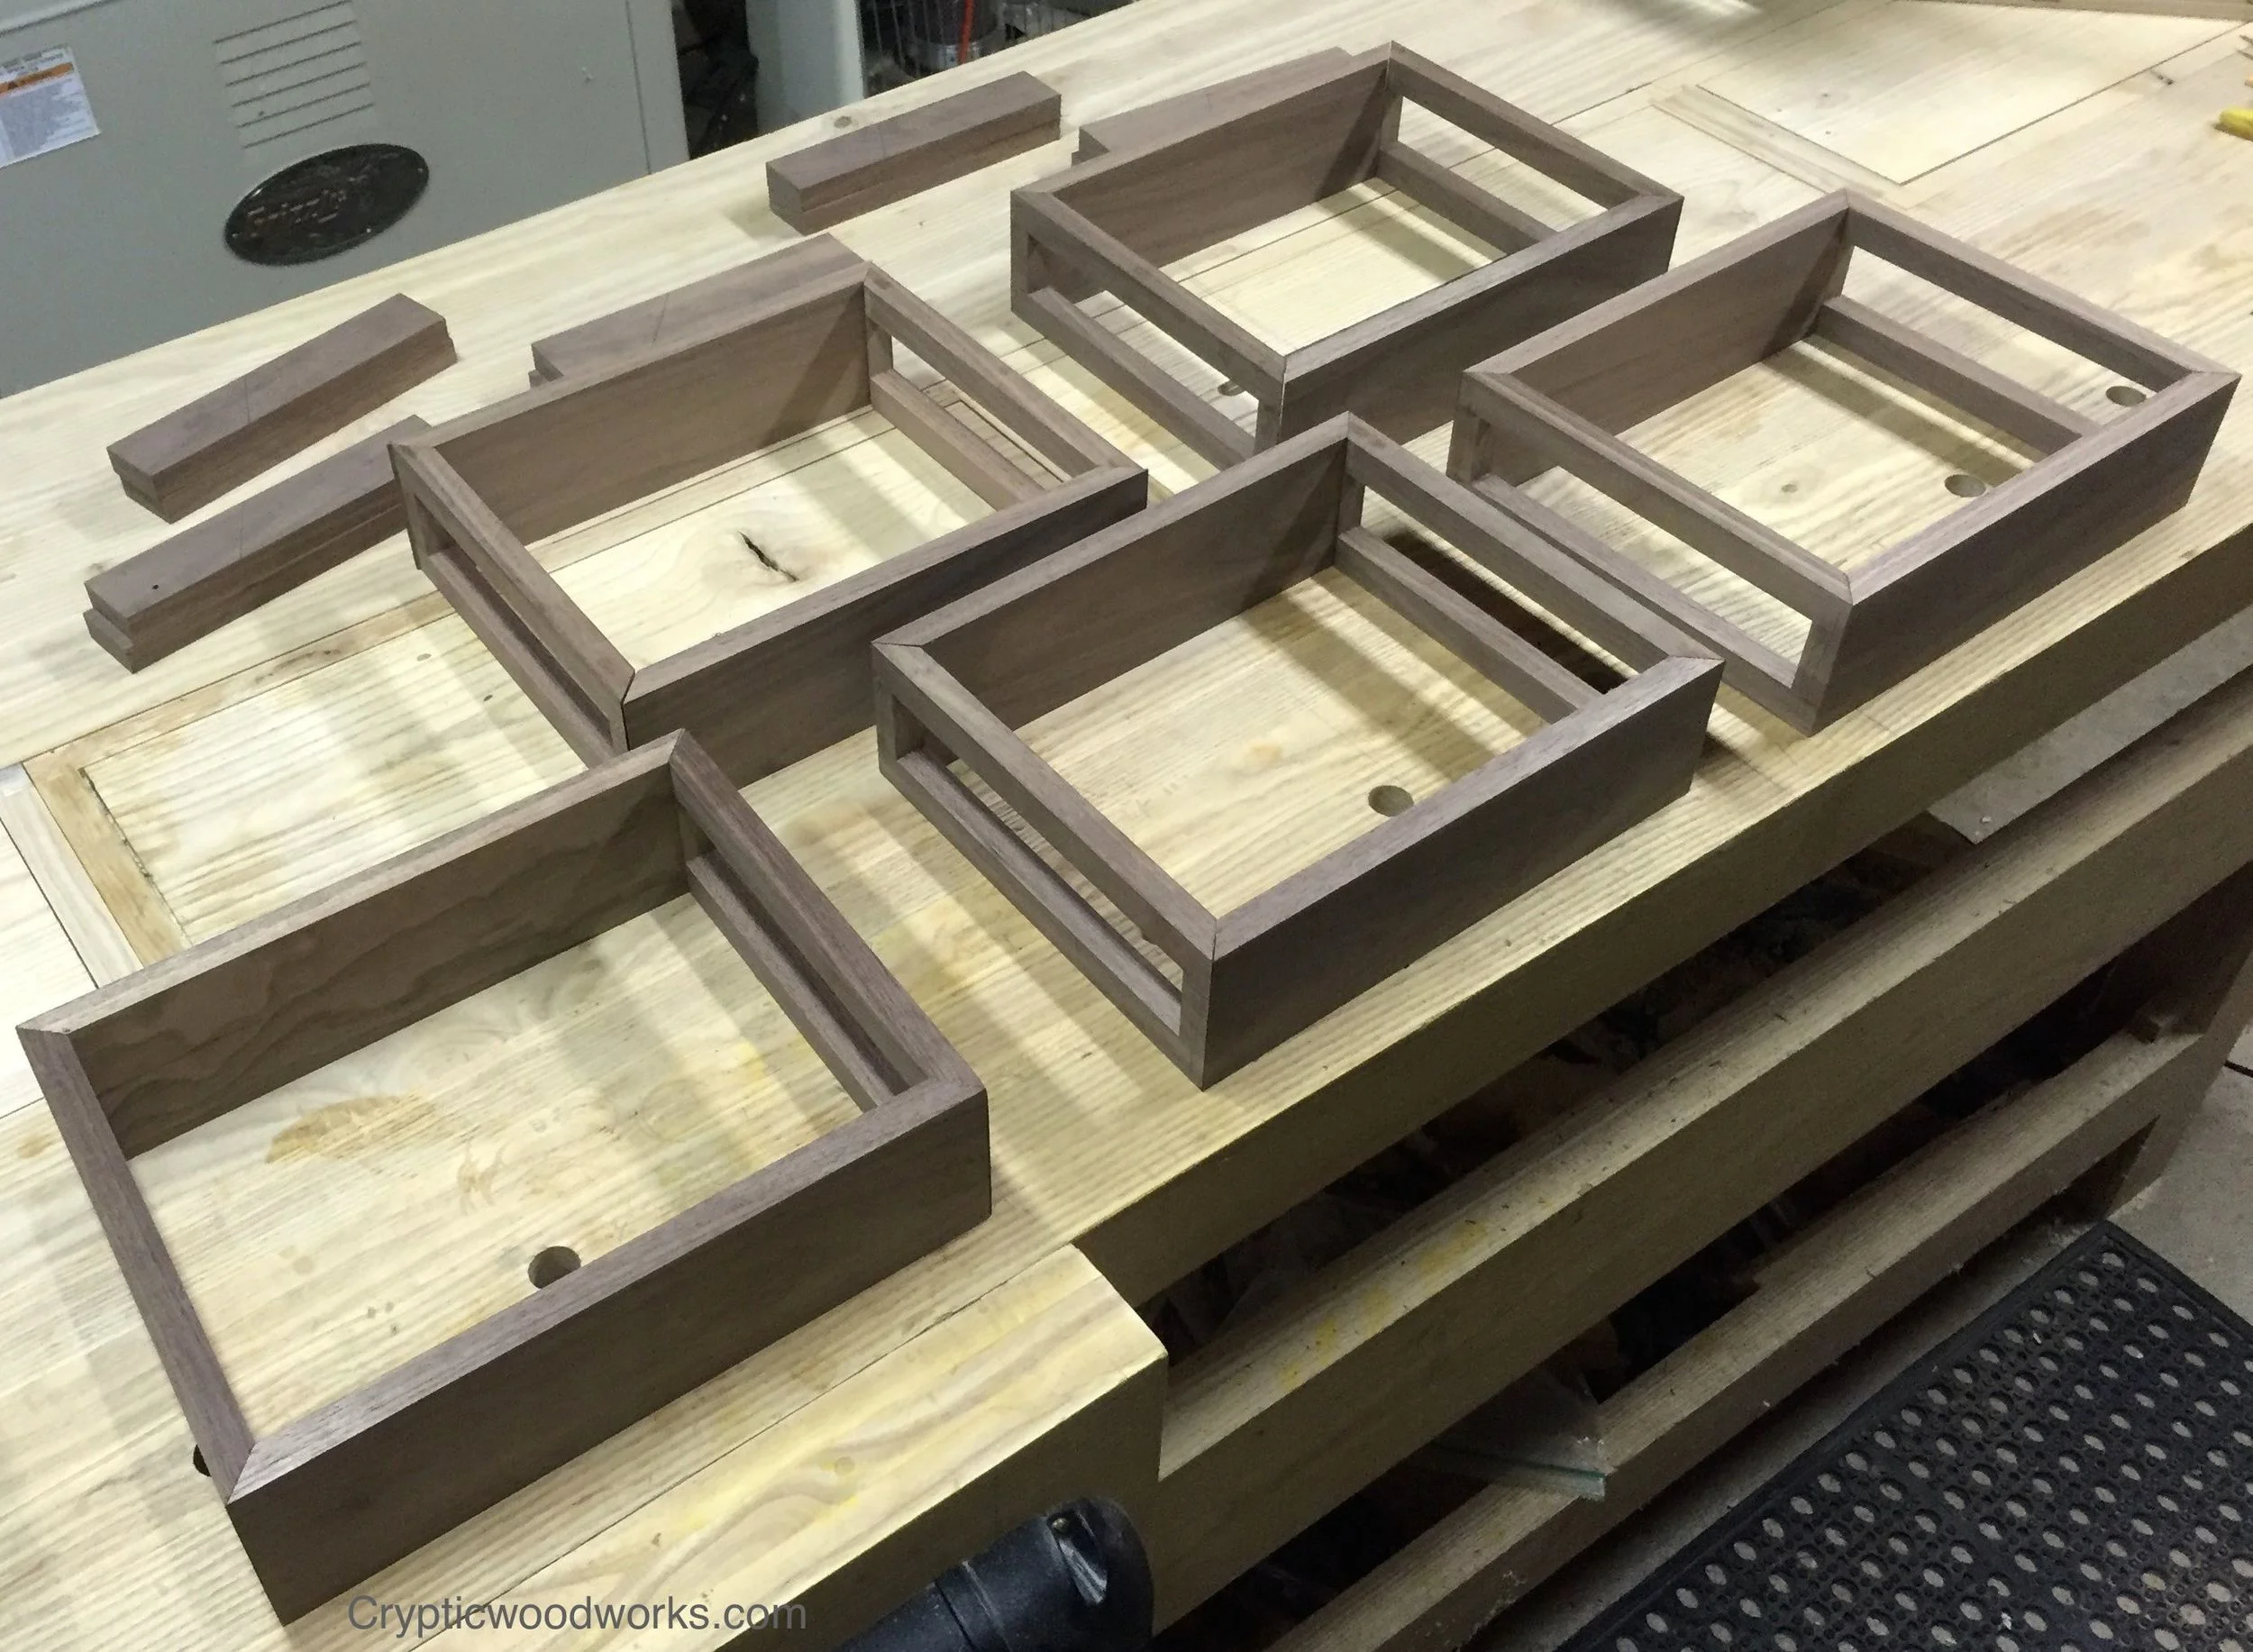
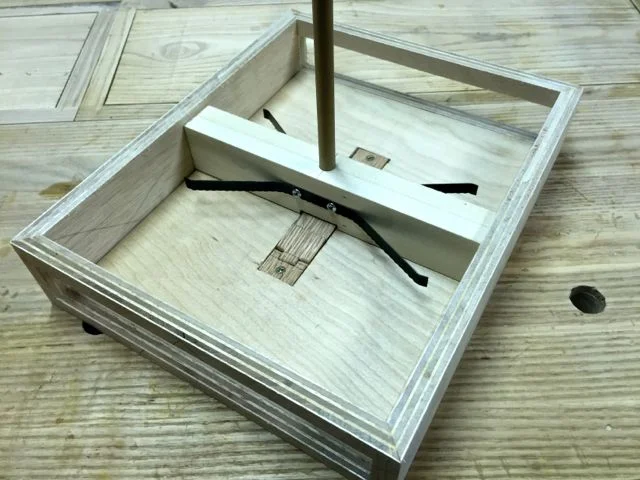
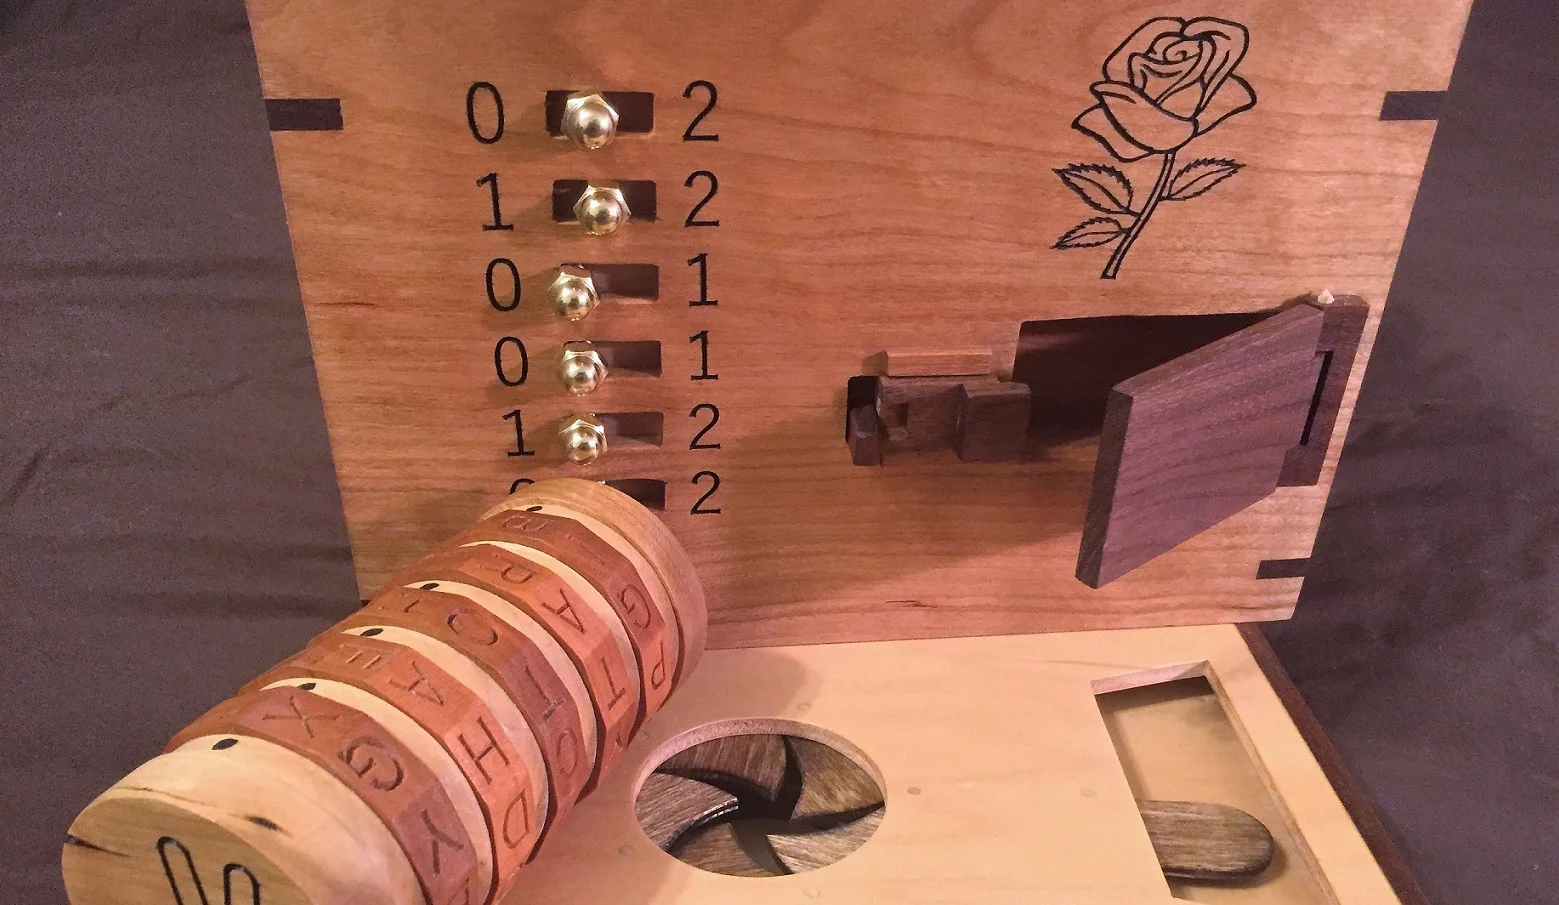
Back in the shop, the new set of puzzle boxes is coming along nicely.  This is a build of 5 boxes (one of which I hope to keep with me).  This is where the spring open drawers, slider lock puzzles and other items are all going.  I've enjoyed this series of boxes.  It pushed me into some new territory, like doing a lot of small parts work.  I've also spent quite a bit of time with pencil and paper working out the puzzles, how they would function, estimating difficulty and the general look.  It's truly been an interesting journey, one that I hope to conclude soon.  I had so many plans I had to start cutting some thing or I'd either never finish the boxes or have to make them ridiculously expensive (as a maker, I've tried to keep things reasonable-ish).

Coming out of this set of boxes I also had the idea for a run of smaller boxes using some of the same concepts.  Since I've built several jigs to construct these boxes, I would hope to move faster on another set.  And, making them a bit smaller and simpler allows me to have a range of prices and features.  Plus, I'm considering building the parts to several projects, but leaving them unfinished so that I can customize the puzzles for customers.

Finally, one of my favorite game series released a new game.  That's Fireproof Games The Room 3  I've been a gamer since the early days of PCs.  Lately, I haven't upgraded my desktop or my console enough to play current games (I have nothing that can run Fallout 4).  But along come The Room series, that runs on my iPad.  If you've never heard of this series of games, it's essentially a giant puzzle box meets escape the room.  The game is exquisitely crafted and uses the touch interface masterfully.  Plus, the sounds are amazing as you interact with the puzzles.  There is a supernatural aspect to the games and a slight horror bent (very slight).  Overall, I've loved the series and it helps me come up with new idea.  Some things only work in the digital world, though!

Now, back to the shop (um, wait, after I mow off the leaves) so I can work on puzzle boxes, listen to podcasts and If I'm lucky and Eagles win today.

Tackling Lumber Storage

I have the fortunate problem of too much lumber on hand.  In years past I was able to get dropped trees cut up into boards and dried for relatively cheap.  Until now I never had a good way to store it.  I've been using one of the tarp sheds (or garage in a box).  It's been up for nearly 10 years and has done OK.  However, back during Hurricane Sandy it was broken and I've had it patched together ever since.  It's full of holes, has a broken frame and needs to go.

While the tar shed worked for an interim solution, it had some issues.  For starters, they have poor ventilation and the wood can't breathe as well during temperature/humidity changes.  Also, it's open on the ground so rainwater flows along the bottom.  My wood stacks turned into mouse nests (cats weren't pulling their weight!).  Plus, the top started leaking so much that the stacks of lumber in the tarp shed were themselves covered with tarps.  Oh, and the spiders.  So many spiders.

And then there's the problem of needing a board that buried under 10 others.  Getting one piece of wood often turned into a frustrating workout.  Not to mention coming back from the lumber yard only to realize I already had some of the same stock I just bought still on the stack somewhere.  Stacks get a little tippy.  It's hard to get just one board.  I think you see how this was a problem.

Time to change all that.  I dropped by a local shed company and put in an order for a new one.  Sure, they aren't cheap, but it's oh so necessary.  I'm going with 12x16 (the biggest I can go before I need a permit and a permanent pad).  I'm putting double doors on the side, near to the back.  When opened, I'll have racks going back about 10-12' for the long board storage.  This will let me separate sets of wood and then I'll have less digging to get one board.  I'll have some room at the opposite end for sheet good storage and then a bit of space along the front for scraps, spare equipment, etc.  I will have a single door on the front.

Now I'm moving everything out of the tarp shed onto temporary stacks under tarps.  Then I need to get rid of some small trees and a bush and take down the old tarp shed.  It's a good bit of work, especially since we're into summer temps.  But, I am so looking forward to having dry, covered, protected and easy to access lumber storage.  This coming winter will be the first time I don't have to go out during snowstorms and knock the snow off the shed!

BTW - I ran into lots of camel crickets in the tarp shed.  Biggest I've ever seen.  They are funny critters, hopping around like mad in all directions.  I don't know if they are destructive but I always found them to be neat bugs.  Other than that were some good sized fishing spiders (much to my wife's dismay) and a nice snake skin (but no snake, probably just a garden snake, that what we have here).

Refining the Drawer Catch

After I made the prototype spring loaded drawer box I knew I had to refine the mechanism that locks the drawer.  The first one certainly worked, but it was large, a bit clunky and wouldn't fit well in the bottom of a smaller box.  I pondered a while, I wandered the internet, I went into the shop and worked.  

The tricky part about figuring out how to make these mechanisms work is that, while much has been done before, there is precious little information out there.  Most of the antique boxes which such mechanisms are in collections and no one will ever study them.  I'm all for protecting the past, museums and collections are something we should continue to do (and do more!).  But, maybe we don't need to seal all of our past behind glass, or a tasseled rope.  Of the few pictures I could find of these mechanisms most weren't terribly useful for explaining their fabrication.  So, that means it's time to do a bit of re-inventing.  Luckily, that's kinda fun.

I wanted to emulate a style of box where the spring catch is mounted into the floor of the box.  This means the catch must pivot, like a lever.  This way, as the drawer slides in it pushes the catch down until it engages.  Then a push at the back of the catch pushes it back down and releases the drawer.  Here's the thing, the catch can't just be one little piece of wood.  How do you secure the front?  If you screw it down, then it can't pivot like a lever.  I thought about all kinds of crazy solutions and then ultimately realized I was over thinking the solution.  One night, laying it bed, it was suddenly clear.

Put a hinge on the catch!  Its so simple!  Adding a hinge to the front of the catch lets me secure it to the box but not restrict the movement.  Out to the shop I headed ( well, the next morning, it was late at night and I was tired).  On the morning of my birthday, actually.  I made a quick prototype and everything worked great.  The hinge doesn't need much movement nor does it need any extreme accuracy.  A cut off nail makes a decent hinge pin.  The pic below should show the mechanism well.  At the back, underneath, is a small spring.

spring_catch_mechanism.jpg

This Post Sucks

As I continue down this road of what seems like never ending shop changes and fixes, I seem to find more and more work to do.  An item of importance to almost anyone who works with wood is dust collection.  Now, I'm not someone who puts on a dust mask every time I start a machine, however I do want good dust collection in the shop.

For starters, if I'm collecting dust well I have less need for a respirator.  I still use them during some operations like when routing MDF (that super fine dust just goes everywhere!), working at the disc sander or any other place that's not so easy to collect dust.  My big machines are all tied to a collector with a garbage can pre-separator and I use a shop vac/dust deputy for my sander.


Here's the thing about dust collection in general for me ... I don't know a whole lot about it.  I just hope it all works kinda well.  There's a ton of info on CFM, runs, particulate size, hepa filtering, etc. which I find more confusing than helpful.  I picked up this Jet DC several years ago used and along with the pre-separator it's done OK.  I always lost a lot of airflow, though, and I thought it was using the pre-separator and just lived with it.  During the last round of re-arranging I finally decided to do some tests.  As you can see, the unit has a pair of 4" ports.  One of those goes to the pre-separator (which has another hose that hooks to jointer/planer/etc) and the other is connected to my table saw.  Dust from the table saw goes right into the bag - it's fine stuff and we use the large shavings in the can for the animals.

I started looking to see if only having one port active at a time made a difference.  Lo and behold, it did.  That meant I should take a trip to my local Woodcraft (I should probably just have a pay deduction sent there!) for some blast gates.  Those are the black rectangular bits between the hose the port.  They let you close off that airflow.  They work great.  The only downside is that you have to remember to open and close things.  I'm sure that will just become a part of my routine.  

Bigger systems may not need the blast gates from what I've managed to understand.  However, I keep a smaller, mobile, unit in my shop since mobility is so important.

This was one of those easy things I should have done years ago.  But I'm a woodworker not an HVAC designer.  I'm sure there are other such things that happen to all of us.  A particular machine that doesn't run as well as it could simply because we're not also machine techs.  It's a balance in a wood shop and it's easy to get overwhelmed by thinking we need to know and do it all.  Here's the thing, we don't.  Make friends with (or routinely hire) people with the other skills (especially electrical!).  I for one like to do woodworking - not machine repair or electrical wiring, etc.  It was different when I was just a hobbyist - I had plenty of time to learn other skills.  Now that I want to make money, well, some things just have to get done and get done right so i can go back to woodworking.  Honestly, I don't mind, I'd much rather put my time into designing a new puzzle lock. 

Getting Better by Making Multiples

I recall hearing somewhere (can't remember where) that a good way to get better at woodworking was to make two of an item, instead of just one.  When I was a hobbyist, I only had to concern myself with making a project once.  Now that i'm getting into professional work, learning how to make multiples becomes so much more important.  What's different when you make several of an item and what do you learn?  Well, many things change, some tangible and others less so.  Plus, I figure if making two of an item is good, then 4 or 6 of something must be great, right?

For starters, and this is probably the biggest change, you have to start thinking as much about the process as you do the piece.  Making multiples with any sort of speed means you have to get efficient.  So, you must get better at both planning and execution.  The plan will tell you how much stock you need, what cuts you need and drive the order of operations.  I don't want to go into milling and sizing first, that's pretty well known.  You will learn that during milling you must think about finishing, though.  Do you pre-sand or finish certain parts to ease the process?  How will you move about the shop to complete activities?  Where will you put parts that are in mid-stage?  All these activities are suddenly important.  This may sound strange, but when you aren't actively thinking about how to stage things in your shop (because it's second nature, or written down!) you are then putting more thought into technique and skill!

When you make several of something, you can more easily see where errors are finding their way into the process.  Perhaps your very slightly out of square table saw sled is no problem for one piece because you easily straighten the edge with a plane. When you have to straighten 20 edges fixing the sled is now important.  Perhaps you start standardizing your countersink bits to common screw sizes so you can't accidentally drill too deep.  Using 4 or 5 different measuring devices - yep that can cause errors.  I'm sure you can find more errors to correct, we all have plenty.

You find that jigs reach a new level of importance when making multiples.  Jigs let you work quickly, accurately and safely.  Plus, they can let you do things perhaps impossible any other way.  Always making a 22 1/2 deg cut and don't want to change the miter gauge - jig.  Hinge mortising - jig.  Sloping grooves with a router - jig.  Getting the perfect pour - ok, maybe not that one.  If you need to do something more than once with repeatable accuracy a jig is a good idea.

Finally, when you are using your woodworking skills, you are using them a lot and all at once.  When you make multiples you get the benefits of repetition.  Dovetail 5 boxes and I'm sure you'll be better on #5 than on #1.  Setting up that box joint jig is second nature after you've done it 25 times and made 100 boxes.  Regularly sharpening your chisels gets easy when you incorporate fast touchups into your process.  Once you're current set of skills is old hat, guess what, now you can learn more.

This is by no means an exhaustive list, but I hope gives you good incentive to go and try doing some multiples, if you haven't already.  Know of more benefits I didn't list, feel free to comment.  I'd love to hear what others do and what they've learned.


Keeping Busy

Sometimes I feel like I'm not getting anywhere.  I think this is because I am often working on several things at once.  Whether I'm building one of the many items for Cryptic Woodworks, doing my day job, emptying a refrigerator (that just died) or working on the farm, it's hard to keep track of all the individual items any of us do on any given day.  The thing is, we really are busy people, aren't we.

I took a look at my completed pieces ( yes, still up for sale over on Etsy ) and I was surprised that I had finished so many.  This doesn't even include the set of 4 tea boxes I've already sold (or gifted).  Nor does this account for the many, many hours spent on the wood shop itself.

Stepping back and looking at your accomplishments is also a good way to keep moving forward.  I sometimes feel stuck, wondering if I'm moving forward and that hurts my creativity and my drive to do more.  By taking a moment to look back I (and you, if you do it) will see that you have been very busy and accomplishing a lot.  That can be the boost to help you keep going.

Especially when designing new pieces, you need to keep up your own excitement level.  If I want the owner of a box to feel excited when they figure out how to open it, I needed to have that same level when designing it.  This look back helps me remember how I felt when coming up with ideas and how neat it was when I saw the first Linkage Hinge Box actually work.

So, take a minute, look back, reflect on how many great things you've done so far, then head on into the future.