drill press

Cryptic Woodworks Weekly Update for 26 Aug 2018

Drill Press Table - Editied Small.jpg

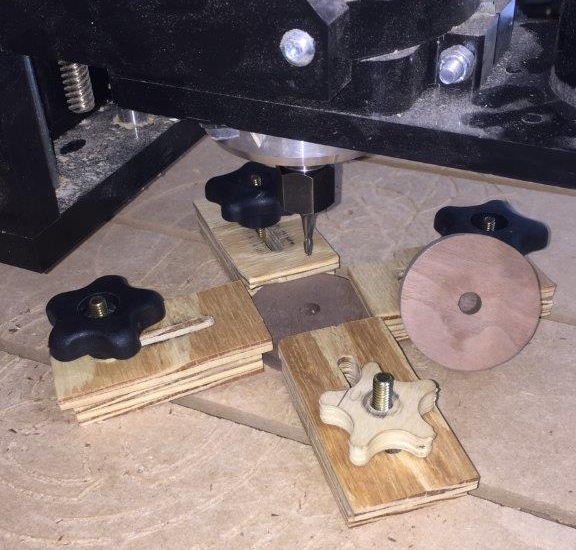
Hey, I've got a new drill press table!  If you read last week you'll know I was working on a new table but I ran out of 1/4x20 t-nuts and had to wait for them to show up.  Thanks to Lee Valley I had them in hand by Tuesday and was able to finish up the main table.  I already like it and I haven't even had to really use it yet.  With all the mounting points I can use every jig from my table saw sled here as well.  Just having all the toggle clamps available is so nice.  I milled out the center to take 4x4 inch pieces of 1/4" material so I can both rotate and flip them as they get chewed up.  I made a few out of some scrap pine.  The fence is pretty dirt simple, straight piece of baltic birch ply with a few slots cut it in - just move it around as needed.

Cross Slide Vise Mounting - Edited Small.jpg

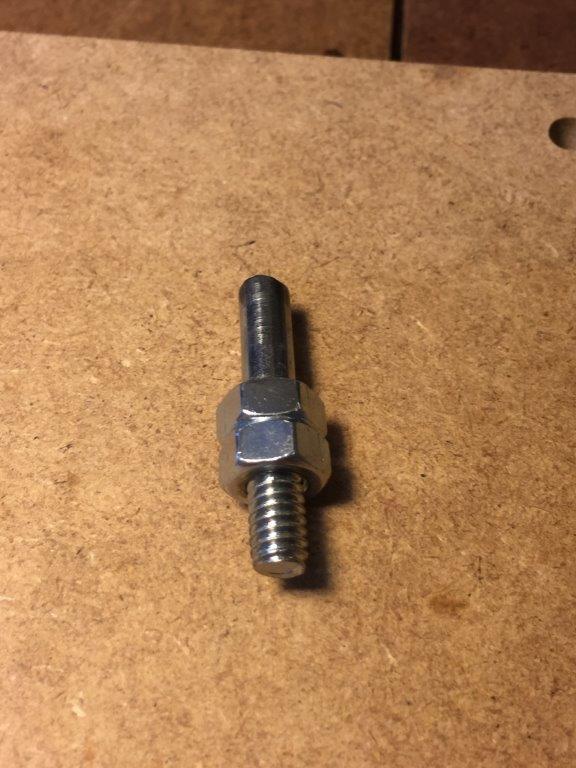
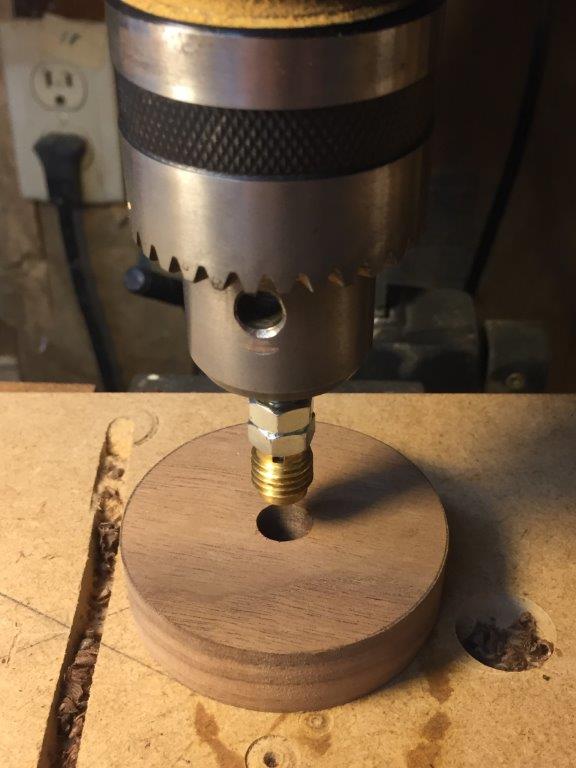
Next up came a plate to mount my cross slide vise on that would also have holes to mount on the table.  I like having the cross slide and I think I'll use it more now that it's easier to mount.  It was a simple job, just lay out some holes to put some bolts that lined up with the mounting points on the vise, drill out some recesses with a forstner bit and the bolt the vise to the board.  Before you bolt it, though, drill holes that will line up with the holes in the drill press table.  I used my CNC for that to get them really precise.   Now, whenever I need the vise is a simple task to pop it on the table and lock it down.  I have been asked a few times if I mill on the drill press and the answer is no. Drill presses are terrible mills - you could damage the machine or have a chuck fly off and maybe get hurt.  But these vises can hold all manner of small things and move through the x-y axis nice and straight.  

I spent a lot of time this week on writing my upcoming article.  So that consumed most of my shop time.  I still consider writing about woodworking to be woodworking, though!  It's coming along nicely, at least I think it is.  I've never written a magazine article before.  

Final Button Box - Edited Small.jpg

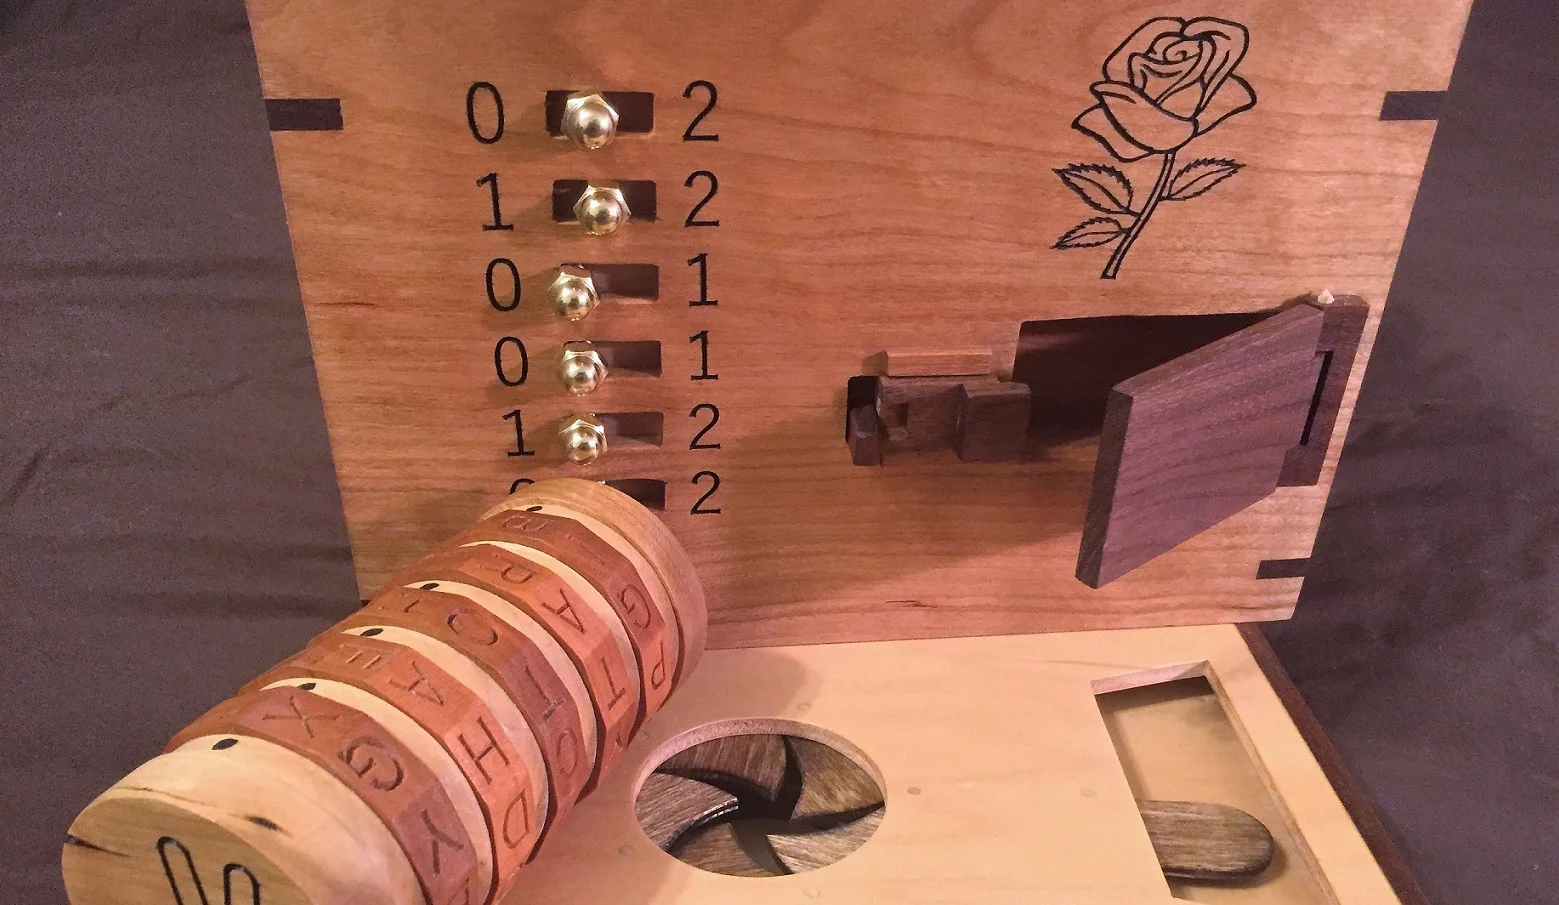
I wrapped up the week dusting off my last remaining copy of The Button box.  This has been on the shelf a while.  It needs two new parts created, which is why it got shelved earlier.  These are just the slide locks and aren't a very difficult job, just a bit tedious to make sure the match up.  The original two were a slight bit short I didn't like how they worked.  Once those are done, I can put some oil on and then top coat.  This box is already spoken for, hence why I'm wrapping it up.  I just always seemed to be working on something else and never got back to this one.  Hopefully it'll be ready in a few weeks.  Feels good to finish this one up.  This was a fun run of boxes where I learned a lot.

On a slight side note, I wonder if anyone else has been on a walk in the woods, looked at all the trees and sighed, knowing you can't use any as lumber?  I love hiking and being out in the woods, but sometimes you see such great trees and know they have good lumber!  But we can't use it all.

Until next week, stay dusty!

Cryptic Woodworks Weekly Update for 19 Aug 2018

I got to have some fun in my bits of free time this week and use some of those jigs for making cube puzzles.  I cut up a bit of cherry into a bunch of 3/4" cubes.  I got pretty good accuracy but my variation was still from .001 to .003.  I'd prefer if it stayed within .001 as it does affect to working of the puzzle.  I think it might come from the tiny amount of play in my puzzle makers sled and if I put a little more force on one side I can shift the cut ever so slightly.  It's hard to take out that last bit of play because if I tighten it any further the sled can bind up in the miter slots.  So, I'll continue to work on it.  Perhaps a new hold down assembly will let me hold the block in place so I can have an even push of the sled with both hands.  It's close, it's real close.

Cherry 5 Piece Cube Small.jpg

I was glad to have made the edge beveling jig.  The first time I made some cube puzzles I beveled by hand on the sander and it took a long time with questionable accuracy.  This time, probably 5-10 minutes to finish 30 cubes and have them all come out nice and even.  Then it was over to the corner gluing jig which also worked great.  I just put a small amount of glue on the faces that needed it, held them in a place about 30 seconds and moved onto the next cube.  I made the 5 piece puzzle from Brian Menold's book.  Gluing went well, I had forgotten to glue one piece that I had to fix, but that's better than gluing one wrong!  I had to do a tiny bit of sanding on a few pieces to make it fit and work well.  All that's left now is to clean up the edges and add some oil to pop the cherry.

Drill Press Table Small.jpg

Then I was about to take some pictures of my drill press table for my upcoming article and I thought, you know it's about time I made a new table.  I wanted something with more functionality and it'll look really good.  I like the attachments on the table saw sled and knew it could be used on a drill press table.  After a bit of head scratching, some measuring and time with v-carve I had a toolpath for the CNC.  I'll have 50 or so attachment points and a replaceable center.  Wouldn't you know it, though, I ran out of t-nuts and I can't finish till that order comes in (luckily Lee Valley is pretty quick!).  I know it's a lot of hold downs, but I figured add a lot, they come in handy.  The CNC process took about an hour to finish the top and bottom layers.  The bottom layer has the holes for the t-nuts with a recess for them to sit in.  The top has the through holes and the cut out for the replaceable plate.  There are also holes for the bolts that attach the table to the drill press.  Once this is done I know that having the same toggle clamps and stops I use on the table saw available will be a big help.  Plus I can make a holder for the cross slide vice so it's easy to attach.

Bit of a light week, but nice to have some time to put another shop aid in place.  These can make a big difference down the road when I'm deep into other builds.

Until next week, stay dusty.

Week Ending 29 July 2018

Where oh where has the week gone?  I could swear it was just Monday.  This happens far too often when you're an independent woodworker with a day job and a variety of other personal duties.  We try our best and we find times to still make a bit of dust.  And I managed to get some quality time in the shop regardless.

I have two of the new cipher wheels with the constellations on them oiled and drying.  The main work here was to carve the second one, get it painted and then cleaned up.  Then came time to make the dials that let you turn the inner disc.  These are just two discs made from 5/8" walnut.  I went simple and these and just drew them with a compass, cut them on a jig saw and sanded to my lines. 

Where I added some challenge was to make a hole in the center to hold a threaded insert.  I wanted a flat bottomed hole down to 1/8" from the bottom.  Regular brad point drill bits would have their points go through that last 1/8".  So, I mounted them in the CNC and made a quick program to cut them.  I had to put in a v-bit so I could align it's point with the center of the disc (from the compass), clamp it down then switch to a 1/8" spiral and make the cut.  Sure, it was probably overkill, but it worked great.

I installed the threaded inserts back at the drill press.  It's helpful to have another set of hands or clamps here (I had a wife!).  I cut the head off a 1/4 20 bolt so I could put it in the drill chuck them put the insert on it with a few nuts to hold it in place.  From here, lower the quill and turn the chuck by hand.  I repeat, turn this by hand!  Pressure on the quill while turning sets the inserts totally straight.  It's a great way to get the job done.

Constellation Cipher Wheel Oiled Small.jpg

Last was a bit of sanding, glue on the dials and then put a few coats of danish oil on all the parts.  Wipe them dry a bit later and now I'll let them cure a few days before top coating with some wipe on poly.  They oughta look great then as I get them posted to Etsy.  Oh yeah, after doing some photography.  Making some new videos would be cool too.

I'm also looking for other alternatives for laser work to finish off the engagement box commission.  The shop I wanted to use is closed while they move and it appears they are taking longer than expected.  Made some calls and have a new person to see this week.  We'll see.  I had hoped to use the Fab Lab maker space so I got the experience of using the laser.

That about did it for the week.  Not a lot happening, but really good to see some projects move along.  Progress is progress, always good to look at it that way.  Each day brings new challenges, new failures but new successes as well.  It's the successes we have to keep our eyes on.  Failures are just there as guides on what not to do.

Until next week, stay dusty!