Wow, has it really been that long since my last post? Well, I can’t guarantee that won’t happen again. but I’ll see what I can do.
So, the Cryptic Woodshop has been busy of late. I finished retrofitting 8 of the Spring Open Tea Boxes and turned them into the The Former Tea Box. 7 of these were sold one was kept for my personal collection. I learned a lot working on these with regards to fitting puzzles into an already built box. It’s a different art form and sometimes calls for a few tricky jigs and fixtures. The reception for these was very good and I was happy with the complexity as I had the chance to tell one solver “Um, yeah, you aren’t done yet”
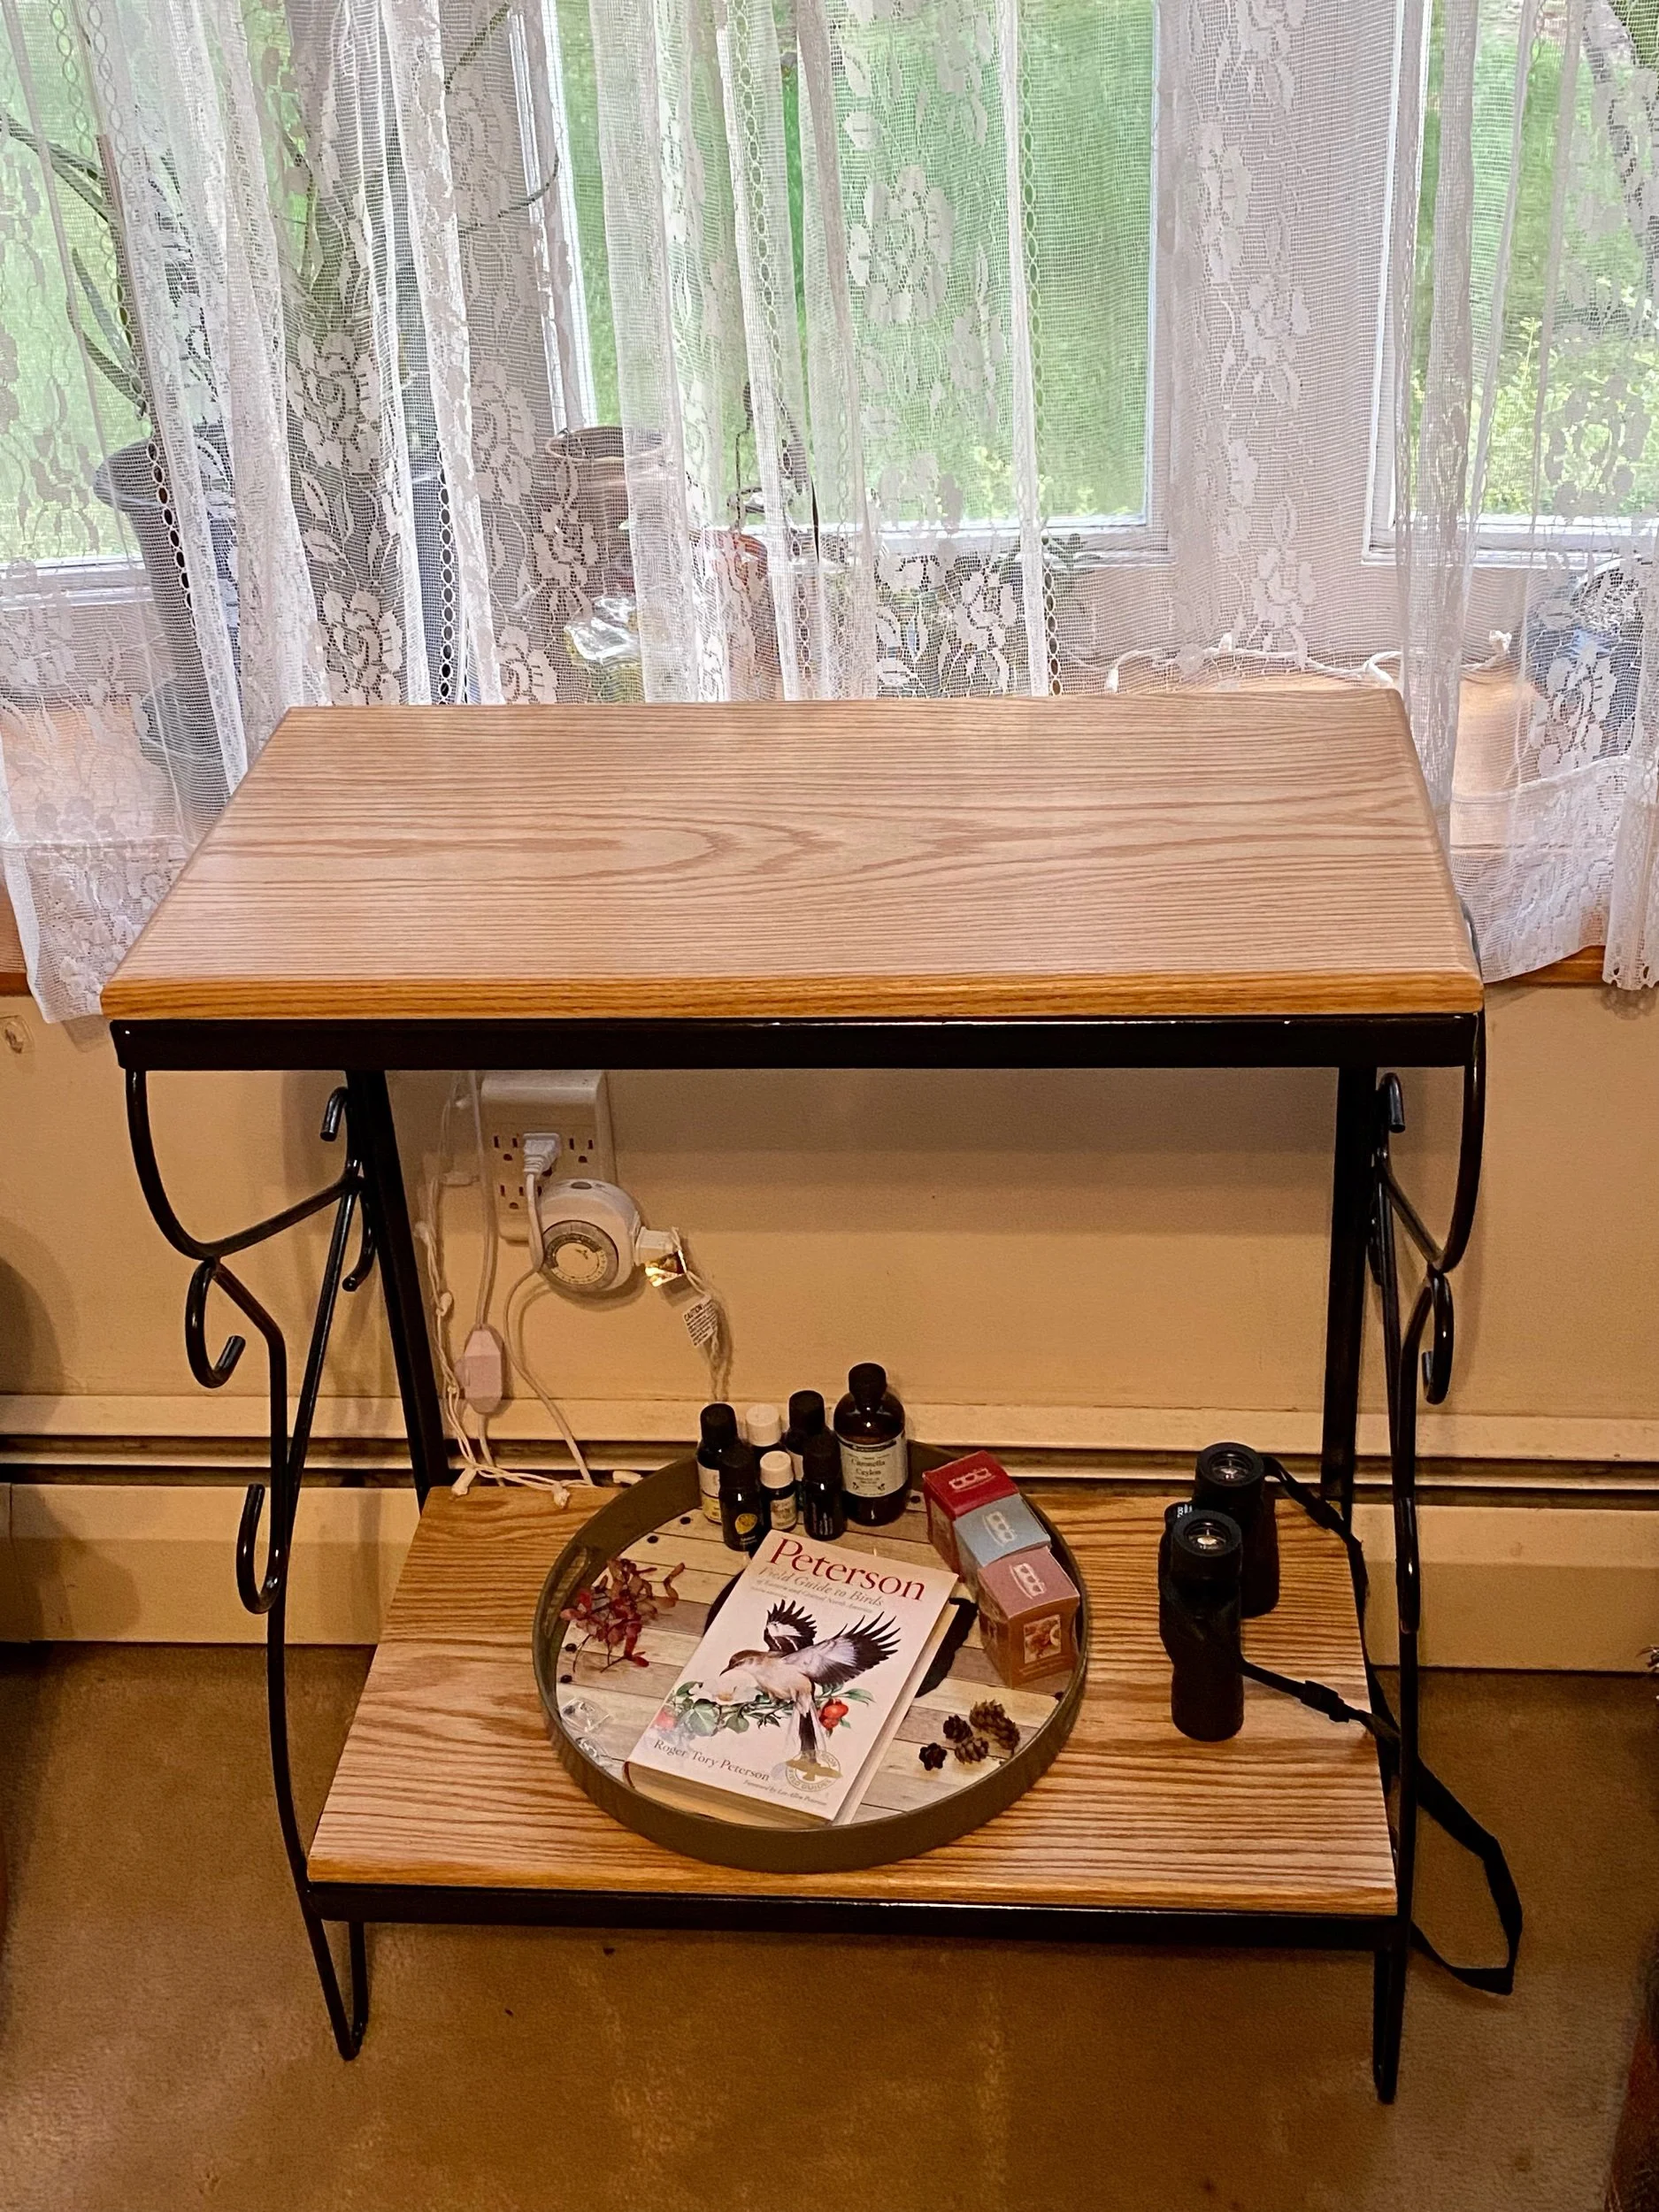
I also did a quick home project. We had an old metal stand around that had lost it’s top and shelf so I pulled some white oak out of the shed, milled it down, glued it up then oiled and finished it. This was supposed to be a plant cart for the patio but after we finished it looked way too nice so now the cart stays in the living room. And I guess I have to make another plant cart now!
Since the Former Tea Boxes sold so well, I decided to make more. It took me a bit to get there, but after enough asking I figured why not. I also had one damaged in travel so the first of this new set is going to be a replacement because I want to make sure my clients have a good item. Since I’ve just started the project I thought this might be a good time to write about stock prep for a project.
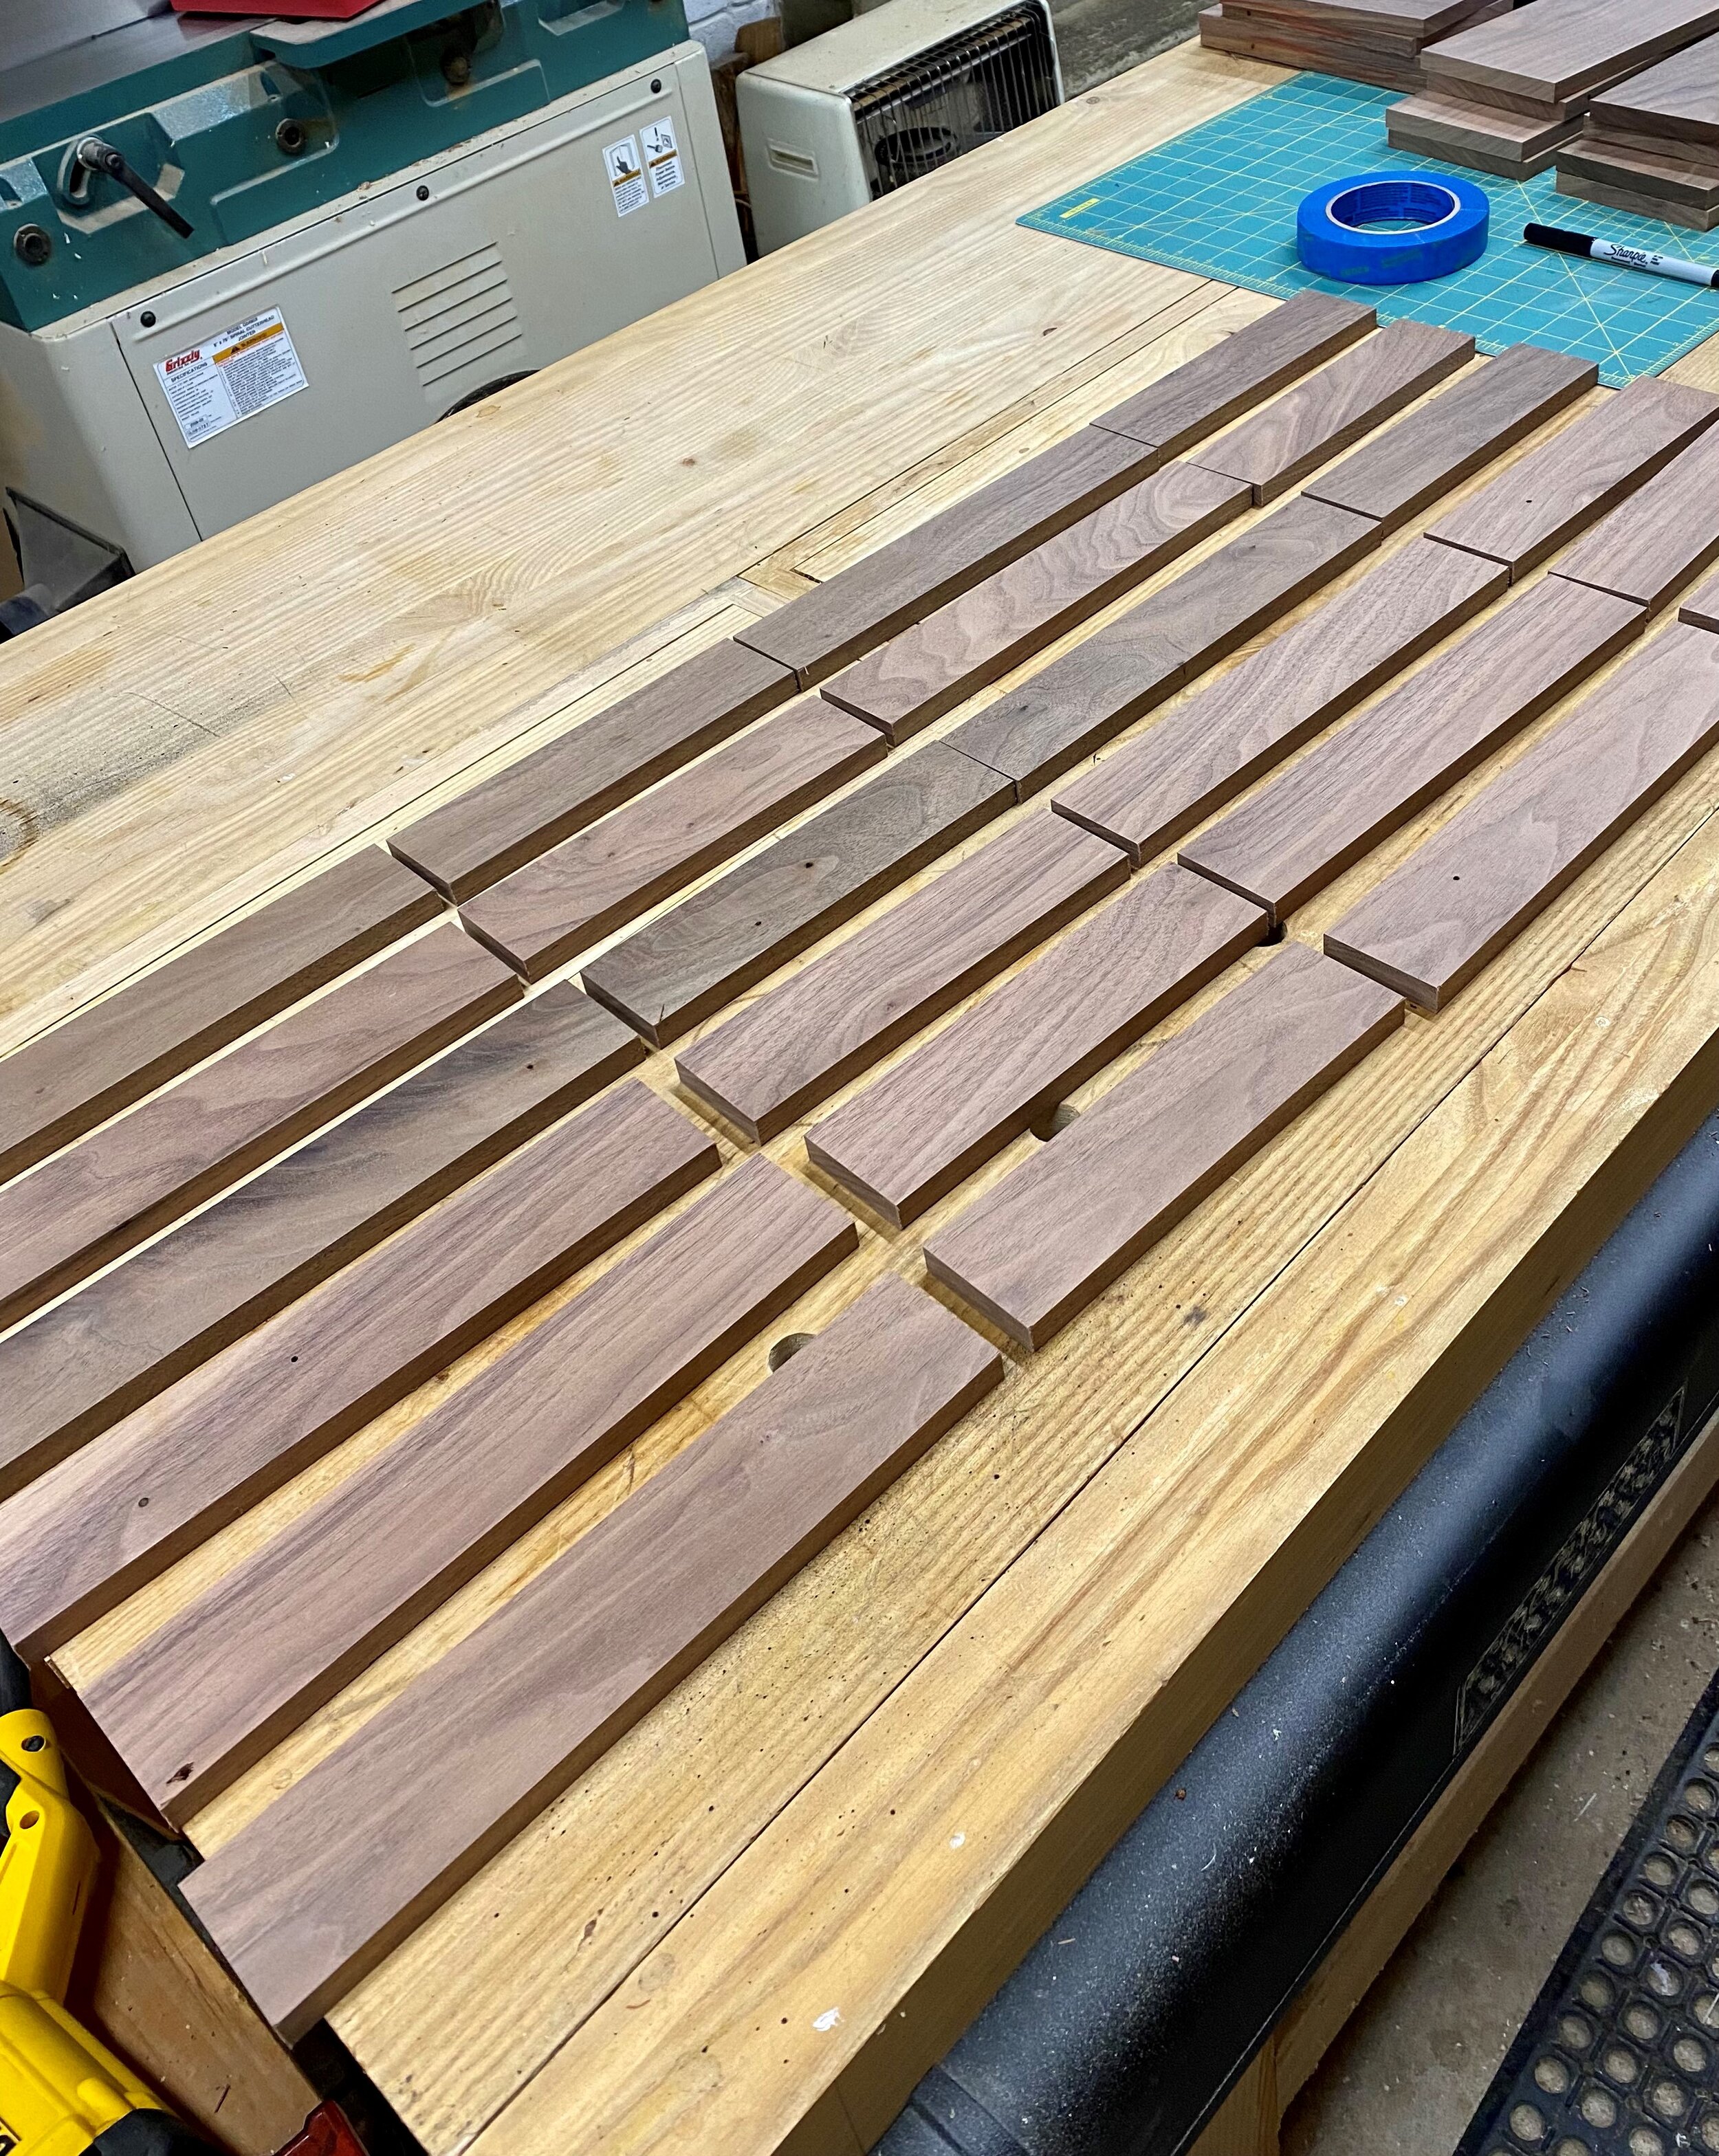
I want to make 6 more boxes and each box has a separated top and bottom. To make 1 top I need a piece of lumber 36” x 4 1/2” x 1/2” and to make 1 bottom I need a piece 38” x 2” x 1/2”. The walnut I have comes it right at 4 1/2” wide so 6 pieces will give me enough for the tops and 3 pieces will leave enough for the bottoms since I can rip them into 2” strips. I make things as long as I can, working around any major problems in the wood. This is reclaimed tongue and groove board so I check each piece with a metal detector (and still miss a nail!!!!). Here you can see I have a stack of pieces that are cut to length and have their tongue & groove ripped off.
Next up comes jointing. This is done on the jointer (seems like a fitting name) and our goal here is to get one face flat and one edge square. I like to use a lumber crayon and through some lines on the surface. This way, as I joint the board I can tell what’s left to take off. As you can see here, the first pass took off more of the middle so this board was likely cupped a bit along it’s length. One more pass and those lines are gone then I can joint and edge and mark it. You should mark your jointed edge as it’s too easy to forget later once things are all flipped around.
When jointing you can come across a variety of different scenarios to handle and there are lots of good articles and references to follow. I’ll just mention what I ran into. The board you see below was bowed along its length. When you find a board like this, you don’t want to apply force to the middle of the board because you will push it down, take off some material and it will spring back up. Instead, you want to take material from each end. Depending on the bow, you could feed the board through all at once, lightening pressure in the middle (you should hear it stop cutting). Or, you could push the board in a bit from each end to remove some material (be careful, the jointer can shoot it back at you). Either way, you’ll see material taken from each end, then hopefully you can joint normally.
Another situation is if you have on end thicker or just one end low. You can joint normally but be careful, you will start to make a wedge so keep and eye on your thickness.
After you’ve finished all this work you should have a nice pile of jointed boards.
With your boards all flat on one side, you can move to planing them to thickness. Why can’t you just start planing? If you don’t joint first, what often happens when planing is that if you send a bowed or cupped board through the planer, you wind up with a thinner bowed or cupped board. I needed to clean my planer as my feed rollers were slipping. I just wipe them down with a sponge and some soapy water. While I’m at it, I hit the beds with some of this SlipIT compound to make everything slide well (I’m not a rep or anything, just what I’ve used). I was aiming for 1/2” thickness, so I would put my jointed side down and keep planing till the top side was clean and that start flipping the boards end for end to try and taken the same amount of wood from each side. When you are done you should have a nice stack of very flat and square stock. When planing, make sure to keep an eye on your dust collector - it does make a lot of chips!
Now, you can work on cutting everything to size. I like to cut all my parts square first before mitering. I know my grain wrap isn’t absolutely perfect that way but I have lots of other work to do to these pieces first and those square sides make life a lot easier. When I’m sizing parts I love using setup blocks and my new setup block holder is the perfect addition to my shop. After you have all your parts cut to size, make sure you keep them aligned and sorted so you have a good grain match and then label them all. At this point, you have a lot of prepped stock and parts and your ready for the fun part - making all the puzzles!


