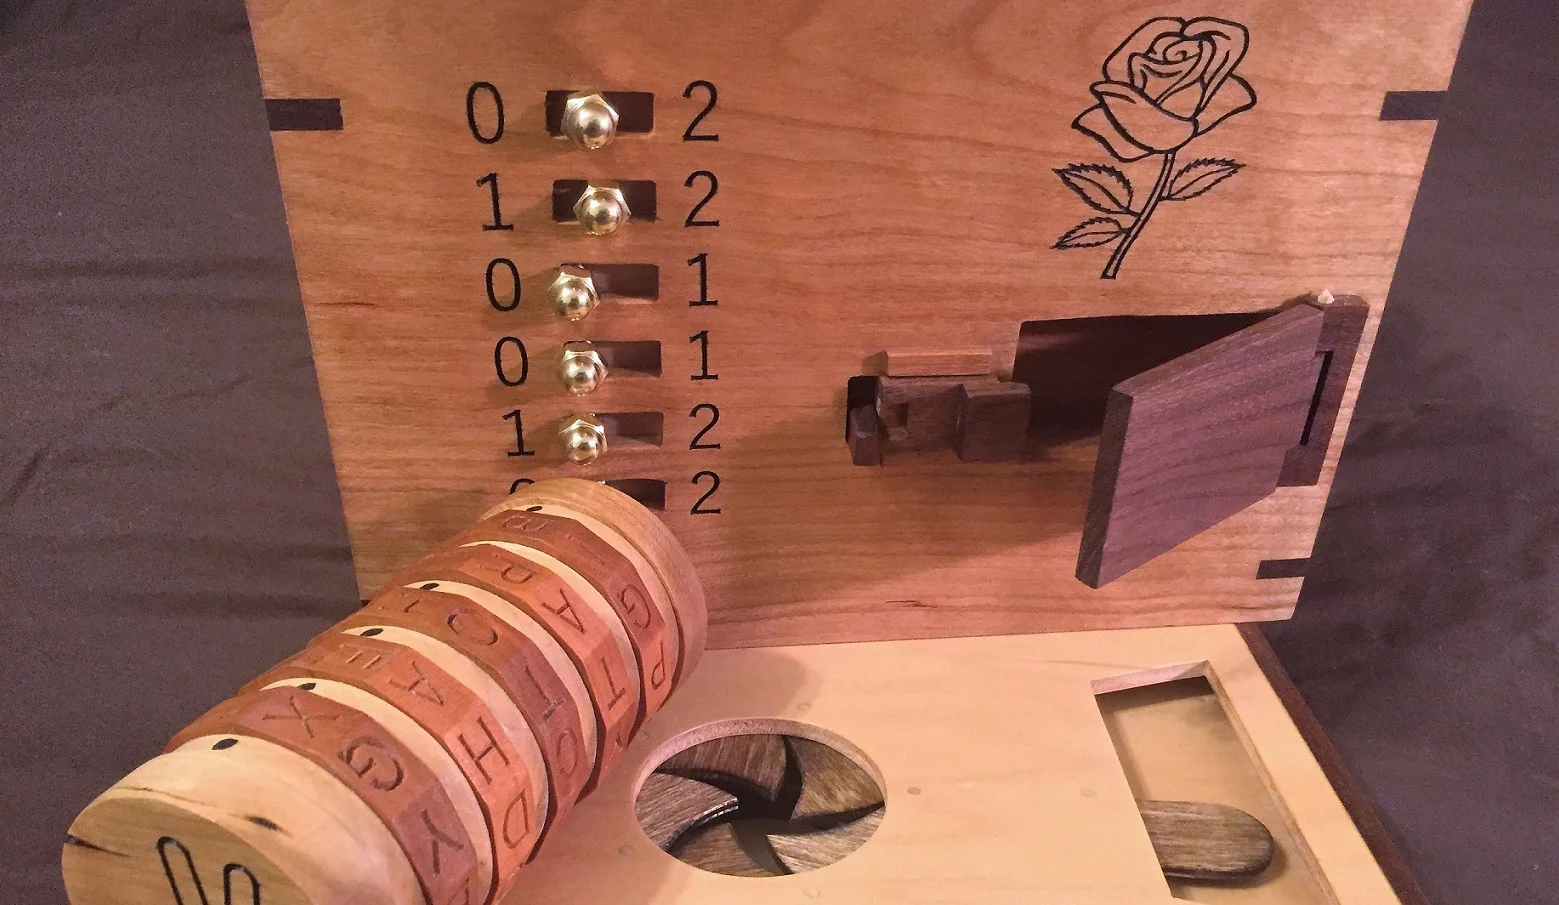
engagement box

Cryptic Woodworks Weekly Update 13 Jan 2019

2019 is moving along full steam here in the Cryptic shop. I know I’m a day late on my posting but Sunday was pretty busy and I had to finish a post for my Lightly Reasoned blog (worth having a look if you’re into critical thinking concepts and some oddball humor). Winter is also starting to assert itself a bit here in the Northeast US. I have to start warming up the shop a bit before I get to work. Luckily it hasn’t gotten too cold and after about a half hour the shop is t-shirt comfortable.

Front Above Closed.jpg

Last week was a little light on the work but yet oh so satisfying. I wrapped up the engagement box. Yep, that’s right, it’s done. I assembled the lid the previous weekend and fit it to the box. All it needed then was a few coats of wiping poly as a topcoat which I took care of during the week. After that I smoothed everything with some 320 paper so it’s silky smooth now. I cut the brass hinge pins to size, sanding the final bit and attached the lid. Same with the side compartment hinges, cut and sanded to size then glued them in with a bit of CA glue. Lastly was putting on the brass caps for the sliding side puzzles with some blue Loctite - the blue is removable with normal hand tools. Wouldn’t you know it though, I ran out of Loctite and needed a quick store run. Be careful with Loctite, it can leak out and stick a part to the box - I have a few I’m making sure are loose enough to move and don’t stick. Since they are removable I can make small adjustments where needed.

Left Side Closed Lower Angle.jpg

I did some showing off of the finished box to may parents. They enjoyed getting a chance to see it’s secrets and mechanisms. Then I had to try and fix their audible account which meant hanging out on a phone with support. Hey, that’s what we do for our family. I learned a lot of my woodworking with my dad in his garage shop.

I got some rearranging and cleaning done in the shop too. Moved the sander and band saw to more accessible spots. Lathe is fully open and ready for use plus the cart it’s on is right behind me at the bench giving me more drawers to use. Its a safer place for my finer marking and measuring tools. I also talked with my neighbor, an electrician, about doing some wiring in the shop to give me more receptacles which I could really use.

As I said, bit of a light week but boy does it feel good to have the full engagement box done. I’ll spend the next week making any needed adjustments, taking pictures and shooting some video. Then, it’ll make it’s journey to Australia.

Coming up? I have a sign to make now that I’m through my other projects. Then it’s on to new puzzle boxes. I’m already thinking through some designs and locks. I’m looking forward to digging into those.

Until next week, stay dusty!

Cryptic Woodworks Weekly Update 06 Jan 2019

Wow, the first update of 2019. I hope everyone had a great Christmas, New Years and all the other holidays, whether Merry or Happy. it’s all good. It was nice for me, a few rather quiet days, visit with family, see some friends and even got out to a local art museum I’d never been too. Played a bunch of Hitman 2 (yeah, I’ve been a gamer for a loooong time), drank a bunch and ate a lot of cheese.

Making Puzzle Boxes.jpg

With the break over, it was time to get back to work. Well, actually I was working just before Christmas too. I had wanted to make a set of simple puzzle boxes as gifts. I started these on the Saturday before Christmas. That gave me 3 whole days, piece of cake. Well, the initial construction was easy, small mitered box, grooves for top and bottom, no big deal. But I wanted to locking system to require rocking the box in multiple directions to open it and what seemed simple turned out very finicky. Monday morning I know I wouldn’t make it. So I had to stop that and switch to some fast CNC carved signs. I got a bit creative with pictures for nieces and a friend, did my usual mask, carve, paint and finish all before about 2 PM on Monday the 24th. Then with spray lacquer still drying, put them in the car and headed to see my family. They came out great and everyone loved them. Sometimes our plans are bigger than our available time, eh? Unfortunately, I was in such a hurry I didn’t take pictures of the signs - doh!

Finished Puzzle Boxes.jpg

I did finish the boxes several days later, opting for a more simpler mechanic to open them. Wiped on some Danish oil and set them aside to dry. Now I’m nearly done for next Christmas, I guess. Still need to wipe some poly on after the oil cures, but that can happen anytime.


Ready to make holes.jpg

Then it was time to switch back to the engagement box. I wanted to add some decorative hearts to the inside of the lid, so I hand cut a bit of stencil mask, stuck it down and painted them. After that, it was time to steady myself, meditate, calm my nerves, practice steady breathing, etc. Why? Because I had to chisel two holes into the finished box so the top would have something for the locks to latch into and then drill through the sides for the tops pivot pins. So, yeah, I was about to cut holes in a perfectly good box. The side latch areas went smoothly, I just laid them out using my prototype, then carefully chiseled the areas out, taking just a bit at a time. I’d work the chisel around the edges, then chisel a file lines across and pop out the bit. Repeat this till I hit the depth I wanted. It was nerve wracking but went perfectly. Drilling the holes for the hinge pins went well too. I put a bit of tape on the sides so I could mark out the drill point, put a little tape flag on my drill bit to control depth and then just held the hand drill as straight and level as possible (it was too tall for my drill press). Went fine as well, the top pivots smoothly and locks and unlocks nicely. The top also got it’s coats of oil so it will wait a few days for it to cure then get some poly.

The engagement box will be done soon then. I’ll do some heavy use testing, make sure everything works perfectly. Then I’ll give it a nice photo opp, shoot some video and send it on it’s way. I’ll miss the little fella, it’s been a real part of my life this last year and a half.

I’ve got a sign to make now. Plus I have an old set of partially done puzzle boxes I’d like to unearth. I’d really like to get going on some new designs too. I have stock milled up for another set of boxes which I need to figure our the puzzles and locks and mechanisms for. So I’ll be keeping busy.

Conurers Alamaq.jpg

In the puzzling world I have a copy of The Conjurer’s Almanaq which is a kickstarter puzzle book. It shipped just before Christmas. I must say, I’m apparently better at creating puzzles than I am at solving them. I’m still on the first chapter and pretty well stumped. This is a puzzle hunt book, so you first have to find the puzzle, then solve it. Pretty sure I found the puzzle but a half dozen different solution attempts didn’t turn up anything that seemed right. Guess I’ll just keep working at it. It’s fun to try and I’m under no time pressure to solve it, that’s for sure.

Until next week, stay dusty!
Cryptic Woodworks Weekly Update 09 Dec 2018

As I look back at my previous blog entry I realize that almost a full month has passed. The last month had it’s ups and downs - both of which rather limited my woodworking time. I had done some traveling to visit my wife’s family in Central Illinois who we hadn’t seen in some time. Then I went straight to a week long team gathering in Cleveland, Ohio for the day job. I came home with a horrible cold (and I wasn’t the only one to get sick) that hung on for almost 2 weeks. I still have a cough I can’t quite shake. So my month went away pretty quickly.

Photo Dec 09, 2 19 41 PM.jpg

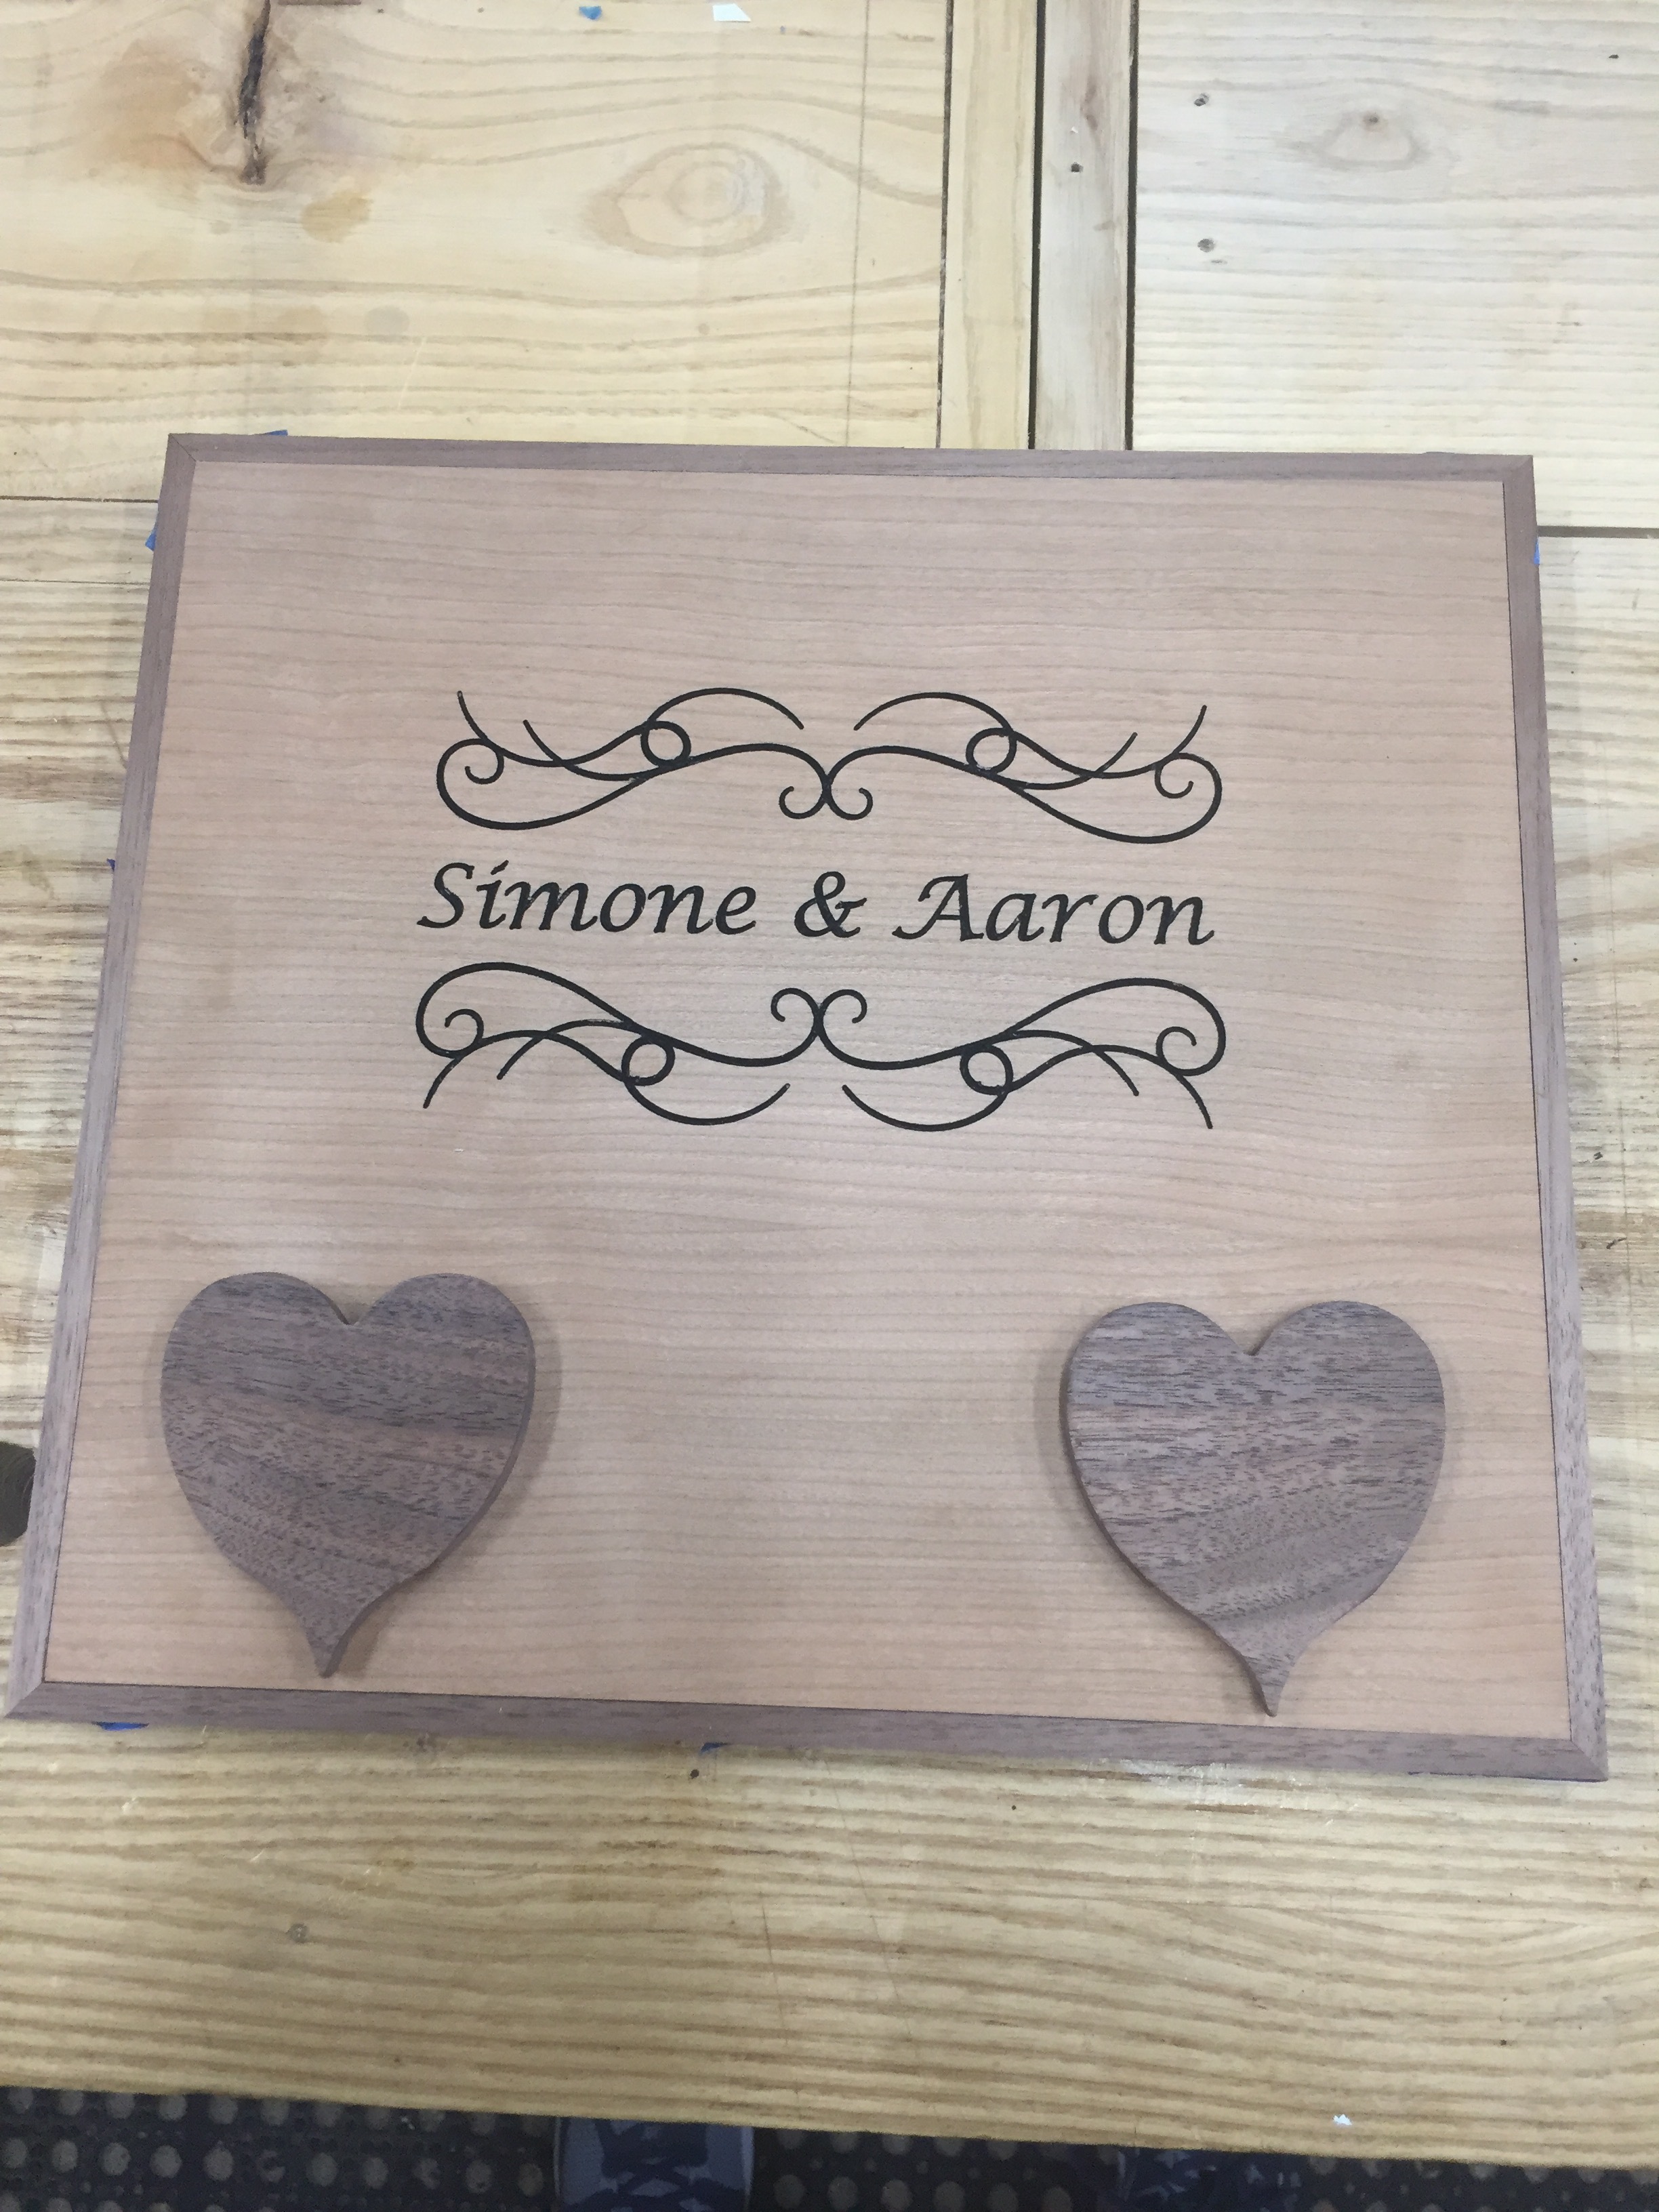
But that’s all done, the kerosene heater is fueled up and running and tools are making noise and dust again. The first thing I wanted to tackle was the lid top for the engagement puzzle box. I hadn’t liked just having the keyholes on it so I made some hearts out of walnut to cover them. Then, a few magnets and washers and I had a great accent that added one more bit of a puzzle to the box. The next step was to add the names and carving. I had wanted to do this with a laser but I was having trouble getting to the site that had it what with timing, costs, classes to learn it, etc. So, since I’ve gotten good with the stencil mask on the CNC I went that route. I purchased several stencil border image packs off Etsy and picked what I like. Then it was a simple matter of getting it right in VCarve, exporting the toolpaths and cutting away. Paint, remove mask and viola, great looking top!

Next up came the task of getting a picture of the couple onto the underside of the lid so you see it when opened. Again, this was meant for laser work, but see above for all the holdups. I did some research, watched a lot of YouTube videos and found several ways to transfer photos to wood. After many tries and failures I got something that worked out nicely.

First was printing with an inkjet onto label paper where the label were removed. The ink won’t try so all you do is put this face down on your wood being careful not the move it, rub it to transfer the ink and viola - great image. Well, not so much for me. Maybe because I wanted black and white or I had too much details or something, but it looked terrible.

Then I tried using water based polycrylic. I only had Generals high durability clear coat on hand, so I put down a layer of that and then pressed a laser printed image (you want laser as its the toner you are transferring) onto the finish, smoothed it out and waited till it was dry. Then you wet the paper and rub it off with your fingers, sponge, toothbrush, etc. It was barely passable.

Then I went and got regular polycrylic satin finish and used that. Same thing, lay down a coat, press the image in, wait till dry and wet and wipe off. It was better but big chunks of the image came away and I wiped away the wet paper.

Then I saw another video that said to gently wipe just some of the paper. Hit it with a hair dryer to set everything, then wet and very gently wipe away again. Repeat until it’s pretty clean and you don’t dare try more. This worked nicely. The image came out looking great, only a bit of the toner came up but nothing that hurt it. Let it dry thoroughly (or use the hair dryer again) and you may still see a lot of what looks like white paper showing up. Don’t worry, spray on some lacquer and that will disappear and just the image is left. Plus the lacquer will sharpen it up.

So that was my Odyssey over the weekend. My foray into crafting, I guess. But hey, we can use all these skills in our work. Why wouldn’t we. We can make great things.

Until next time, stay dusty!